Estimated time: 5 minutes (including email verification)
Authentication Options
RubixKube offers three convenient ways to create your account:Sign up with your work email address
GitHub
Use your GitHub account for instant access
Sign in with your Google workspace account
Email Signup (Step-by-Step)
This guide covers the email signup process. For GitHub or Google signup, simply click the respective button and follow the OAuth flow.Step 1: Navigate to Sign Up
Visit console.rubixkube.ai and click “Create an account” from the login page.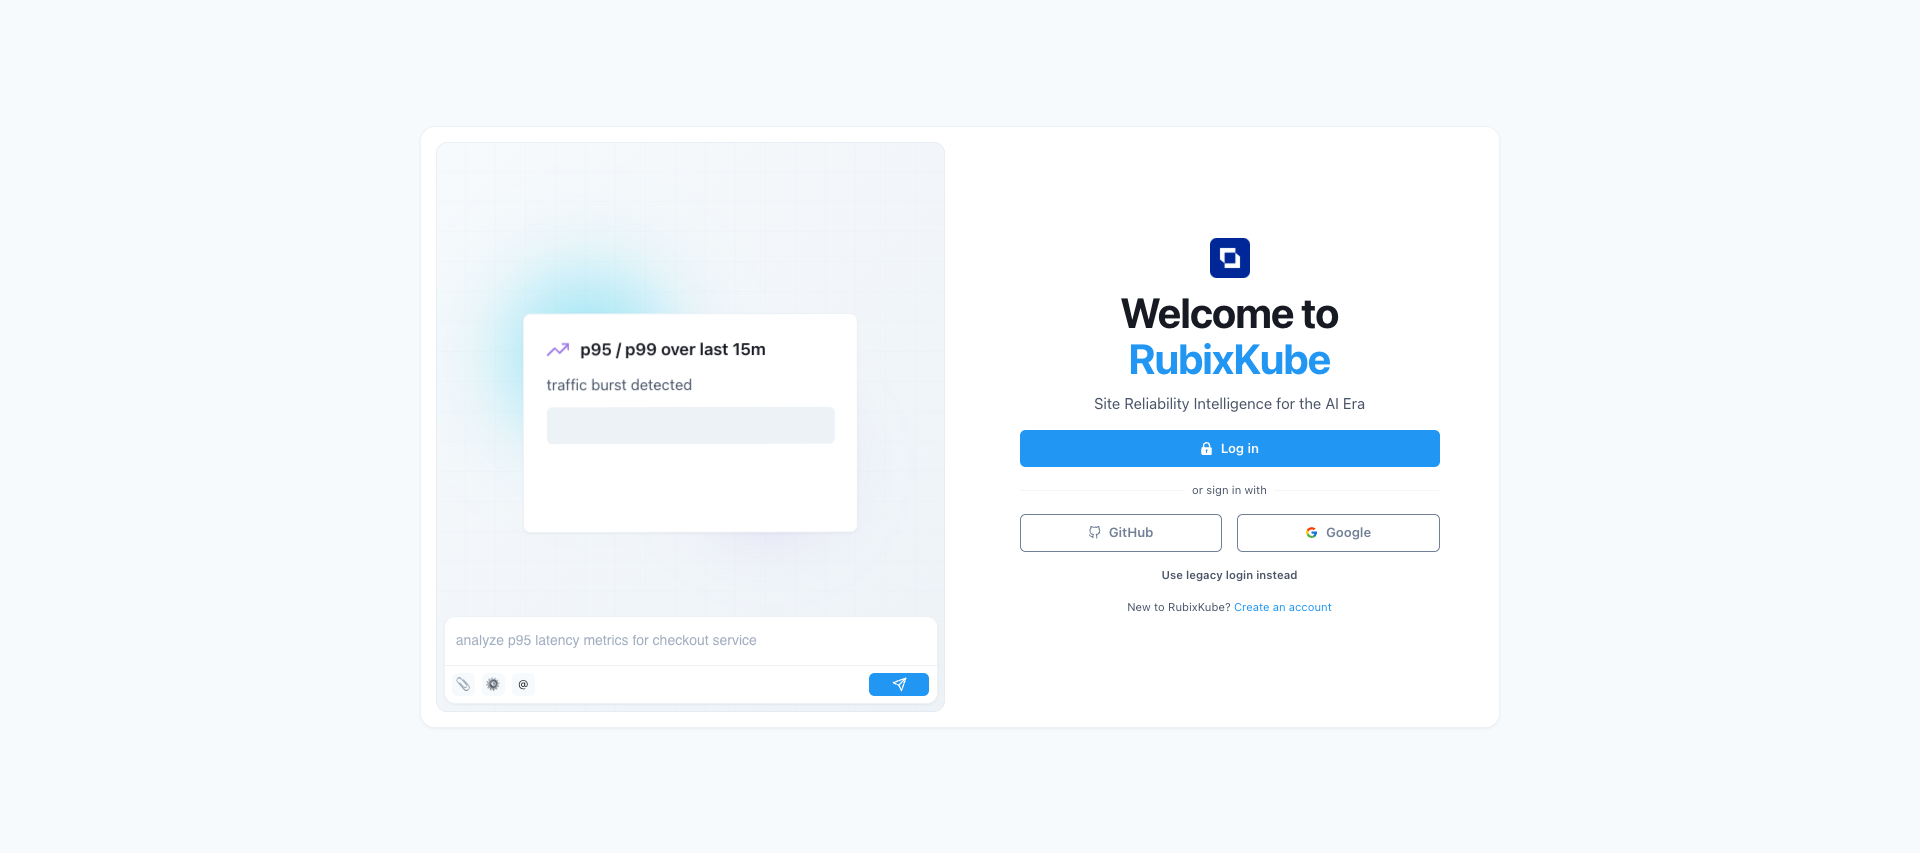
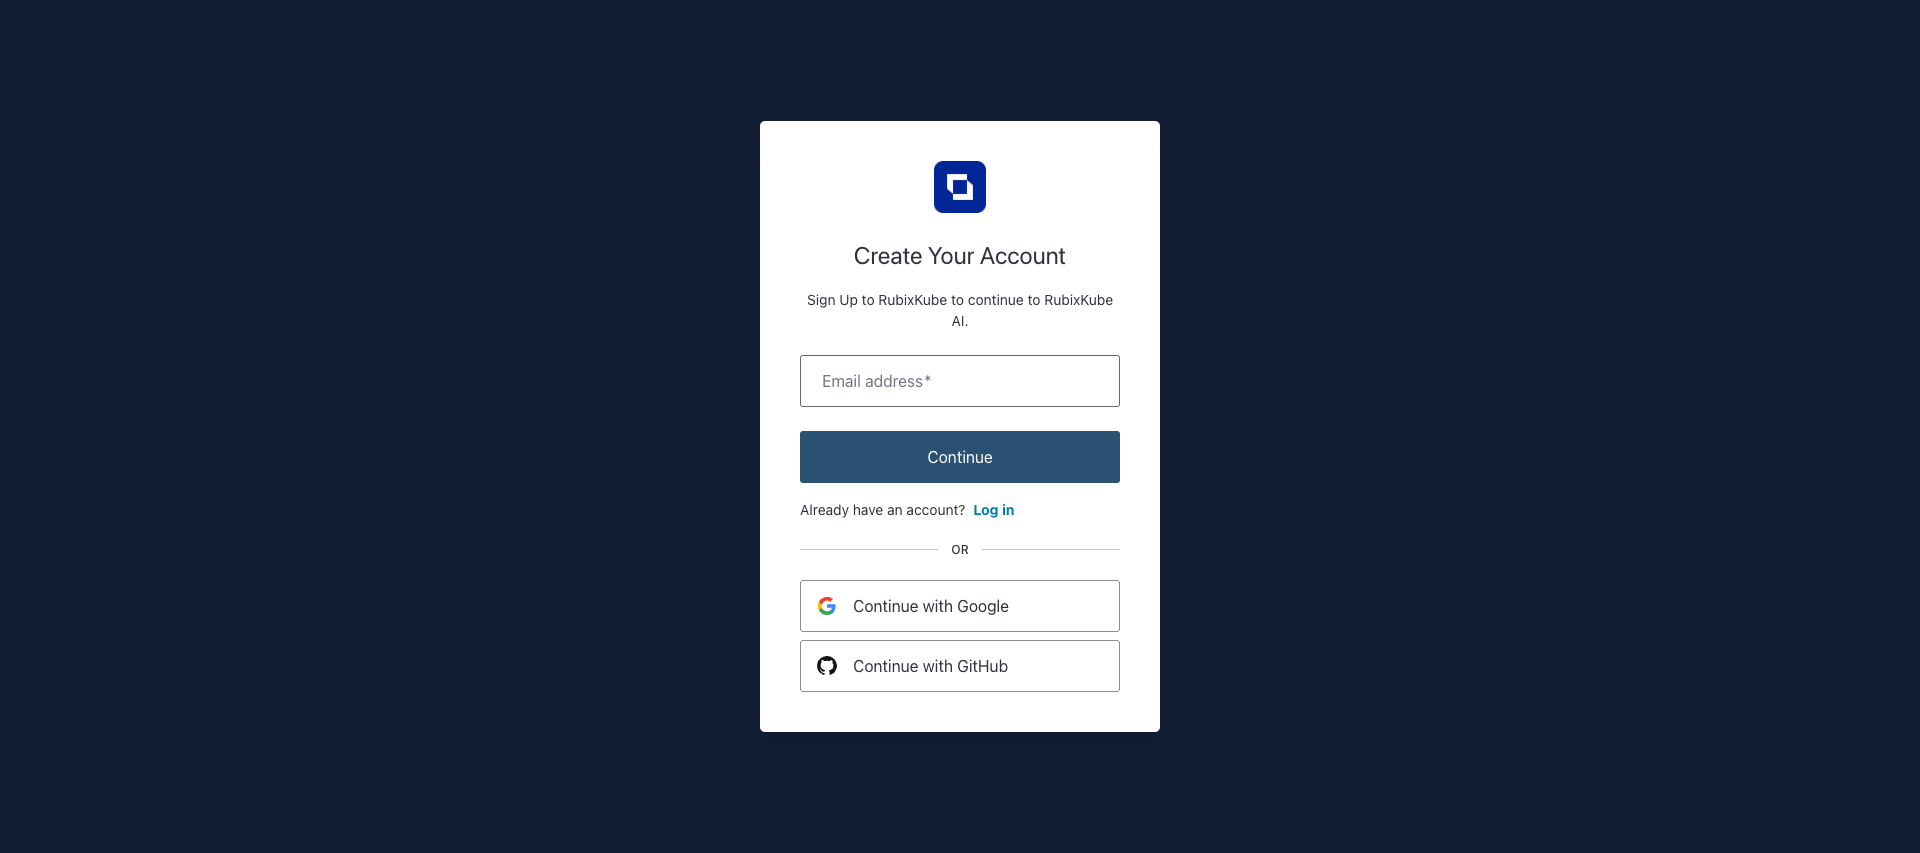
Step 2: Enter Your Email
On the Create Your Account page, you’ll see three options:- Email address - Enter your work or personal email
- Continue with Google - Instant signup using Google OAuth
- Continue with GitHub - Instant signup using GitHub OAuth
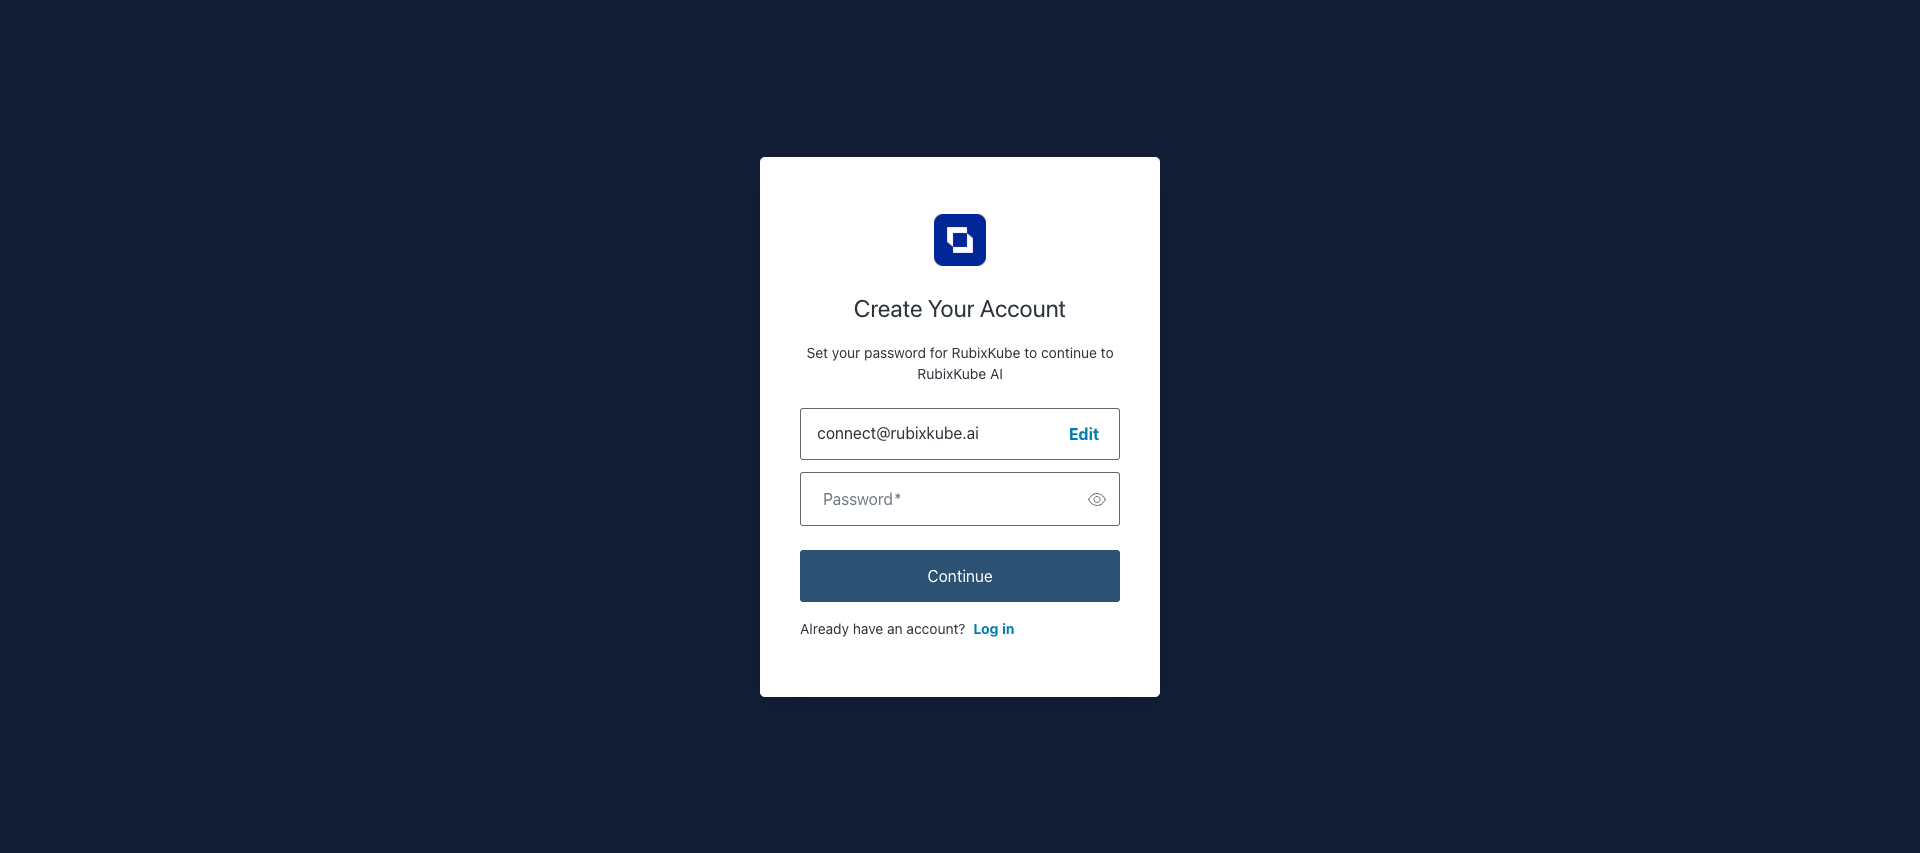
Step 3: Create Your Password
Set a strong password for your account. Your password must meet these requirements:- Minimum 8 characters long
- Contains at least 6 character types (lowercase, uppercase, numbers, special characters)
Step 4: Biometric Authentication (Optional)
After creating your password, RubixKube offers to enable quick login using your device’s biometric authentication (fingerprint or face recognition). You have three options:- Continue - Enable biometric login for this device
- Remind me later - Skip for now, ask again next time
- Not on this device - Decline permanently for this device
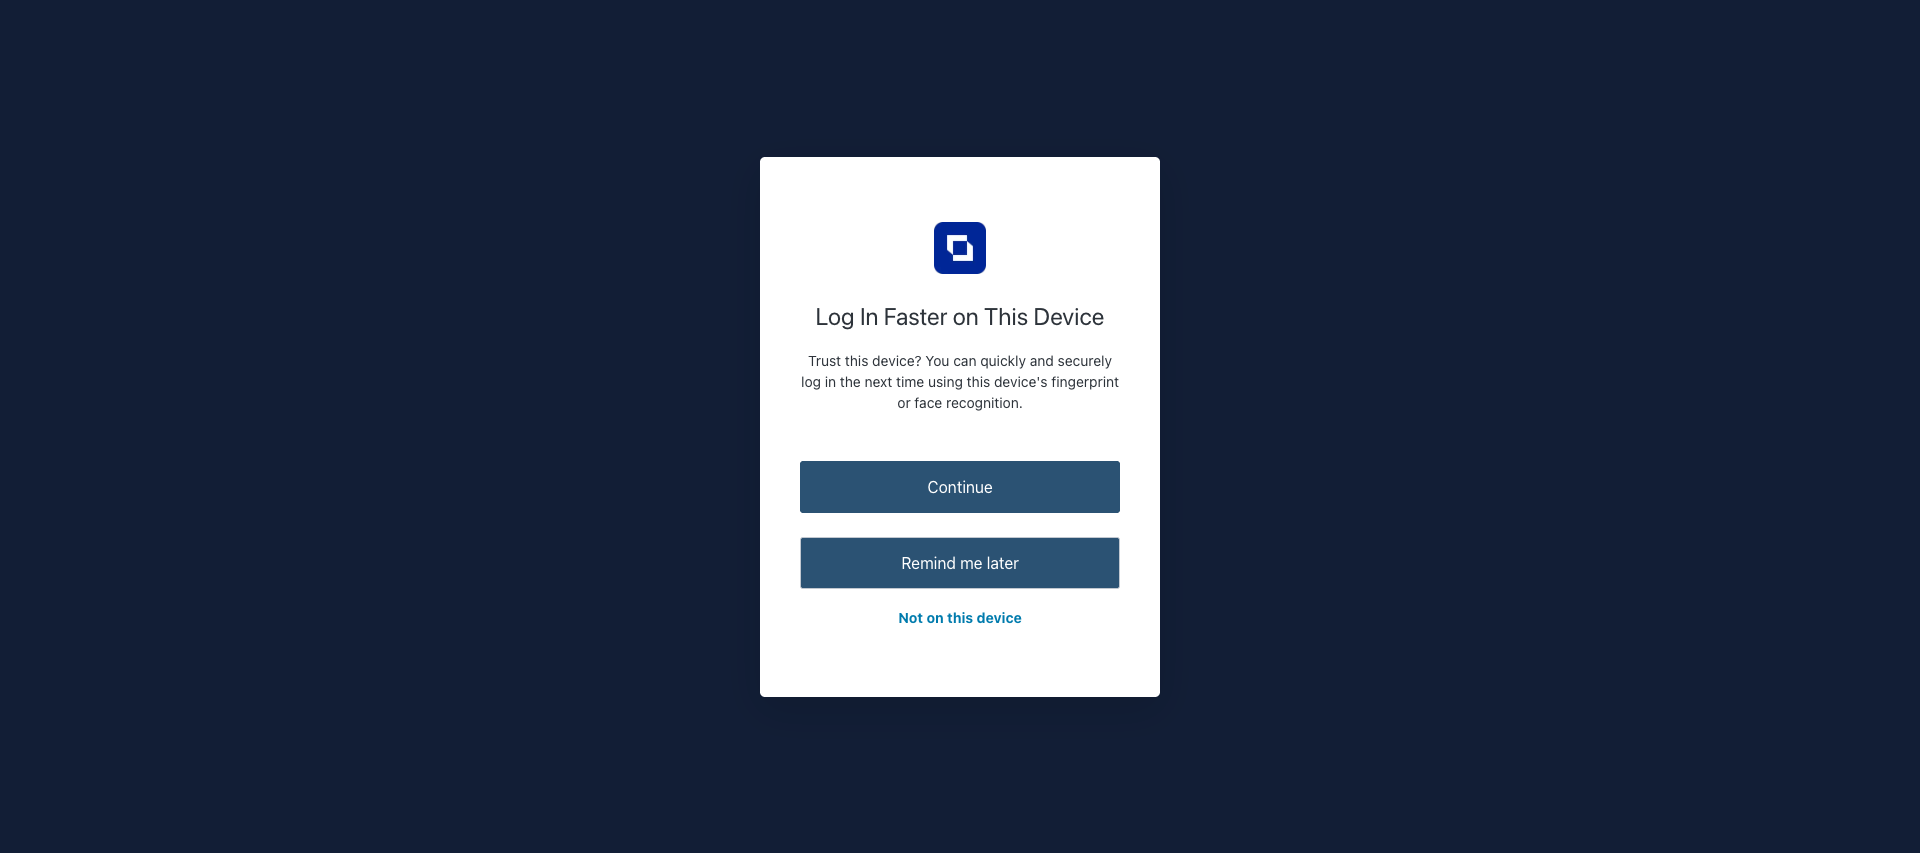
This feature enhances security while making future logins faster. You can enable it later from your account settings.
Step 5: Verify Your Email
RubixKube requires email verification to ensure account security. You’ll see a confirmation screen indicating:- Verification email sent to your email address
- Instructions to check your inbox
- Option to resend the verification email
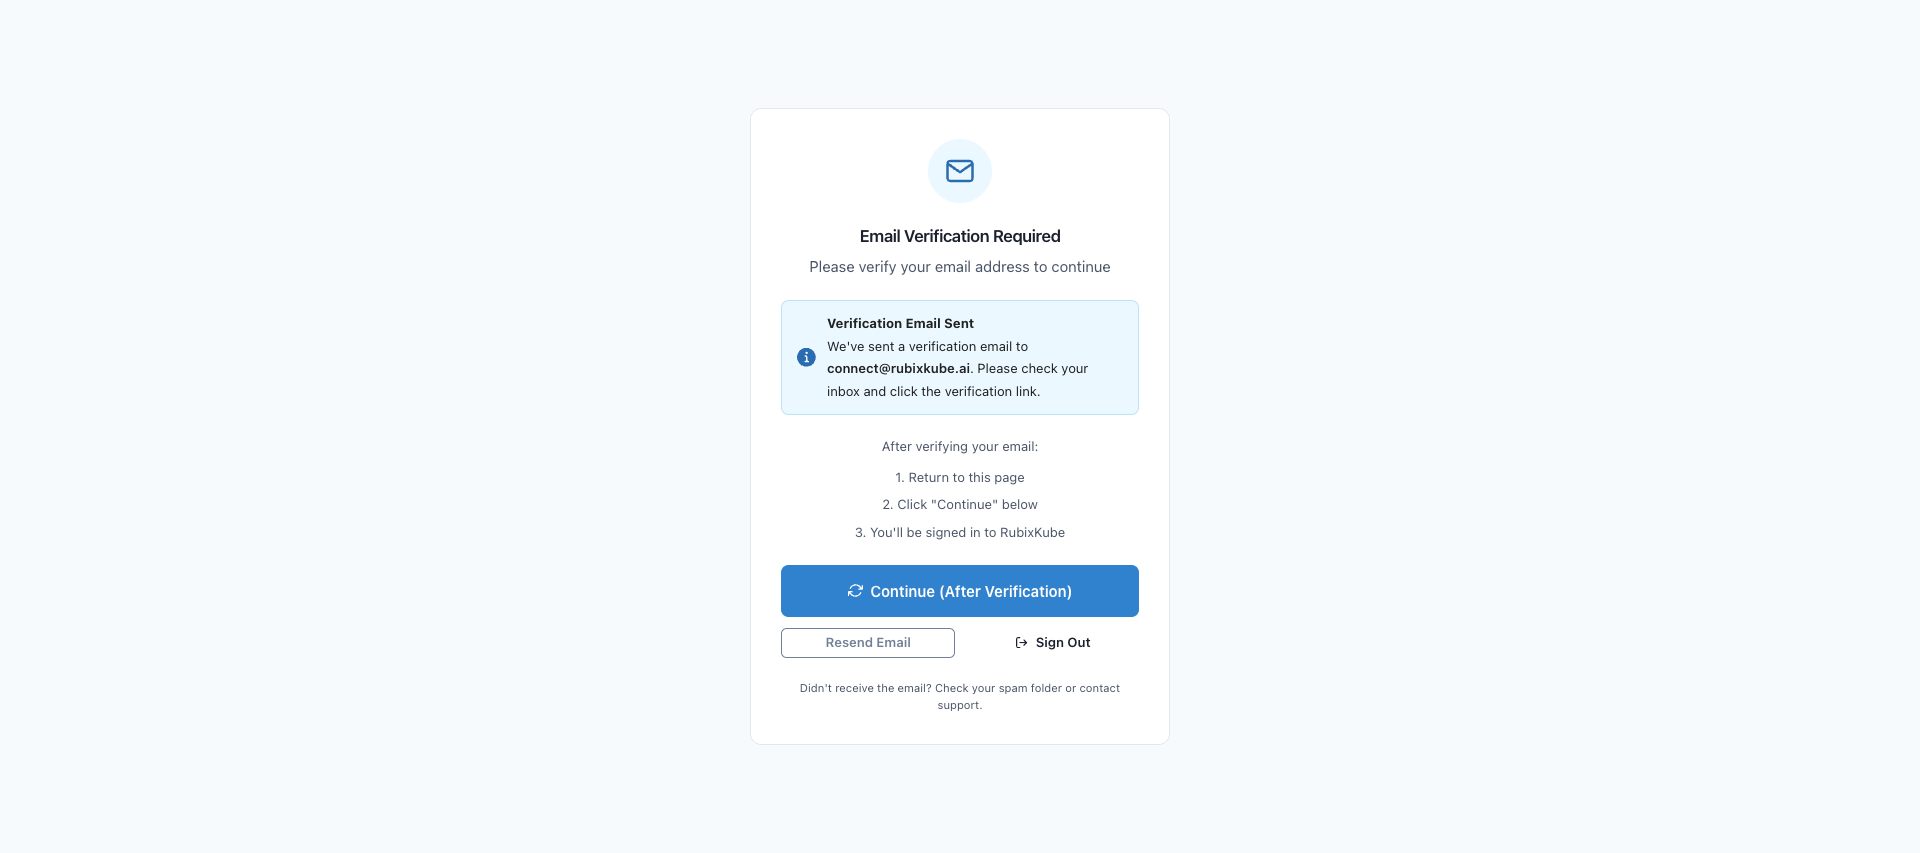
What to do next:
1.Check your email inbox (including spam/junk folders) 2.Click the verification link in the email from RubixKube 3.Return to this page ** and clickReturn to this page**Didn't receive the email?
Didn't receive the email?
If you don’t see the verification email after a few minutes:
- Check your spam or junk folder - Ensure you entered the correct email address
- Click “Resend Email” on the verification page
- Wait 2-3 minutes and check again
- Contact support at connect@rubixkube.ai if issues persist
Social Login Options
GitHub Signup
- Click “Continue with GitHub” on the signup page
- Authorize RubixKube to access your GitHub account
- You’ll be automatically logged in (no email verification needed)
- GitHub email will be used for your RubixKube account
Google Signup
- Click “Continue with Google” on the signup page
- Select your Google account from the picker
- Grant RubixKube the necessary permissions
- You’ll be automatically logged in
- Your Google workspace email will be used
After Signup: What’s Next?
Once you’ve successfully signed up and verified your email, you’ll: 1.Access your dashboard - See your RubixKube console for the first time 2.Complete onboarding - Follow the guided setup to connect your first cluster 3.Invite team members - Add colleagues to collaborate on infrastructure reliabilityNext: Connect Your First Cluster
Learn how to install RubixKube agents in your Kubernetes cluster to start monitoring.
Troubleshooting
Email verification link expired
Email verification link expired
Verification links expire after 24 hours for security. Simply:
- Return to the signup page
- Click “Resend Email”
- Use the new verification link
Password doesn't meet requirements
Password doesn't meet requirements
Ensure your password has:
- At least 8 characters
- Mix of uppercase and lowercase letters
- At least one number
- At least one special character (!, @, #, $, etc.)
OAuth (GitHub/Google) login not working
OAuth (GitHub/Google) login not working
Common issues:
- Pop-up blocked: Allow pop-ups for console.rubixkube.ai
- Organization restrictions: Your GitHub org may restrict OAuth apps
- Google workspace policies: Check with your IT admin
Can't access account after signup
Can't access account after signup
Ensure you:
- Verified your email address
- Used the correct email/password combination
- Are not behind a VPN that blocks access
Security & Privacy
Data Security
Your credentials are encrypted using industry-standard protocols. We never store passwords in plain text.
Privacy First
RubixKube is GDPR and SOC 2 compliant. We never share your data with third parties.
Have questions about security? Visit our Security FAQ or contact security@rubixkube.ai