

Cmd. On Windows and Linux, use Ctrl.
1
Sign in
Launch Kepler and click Sign in to Kepler. Your browser opens. Continue with Google, GitHub, or email, then return to the app. It picks up the session on its own.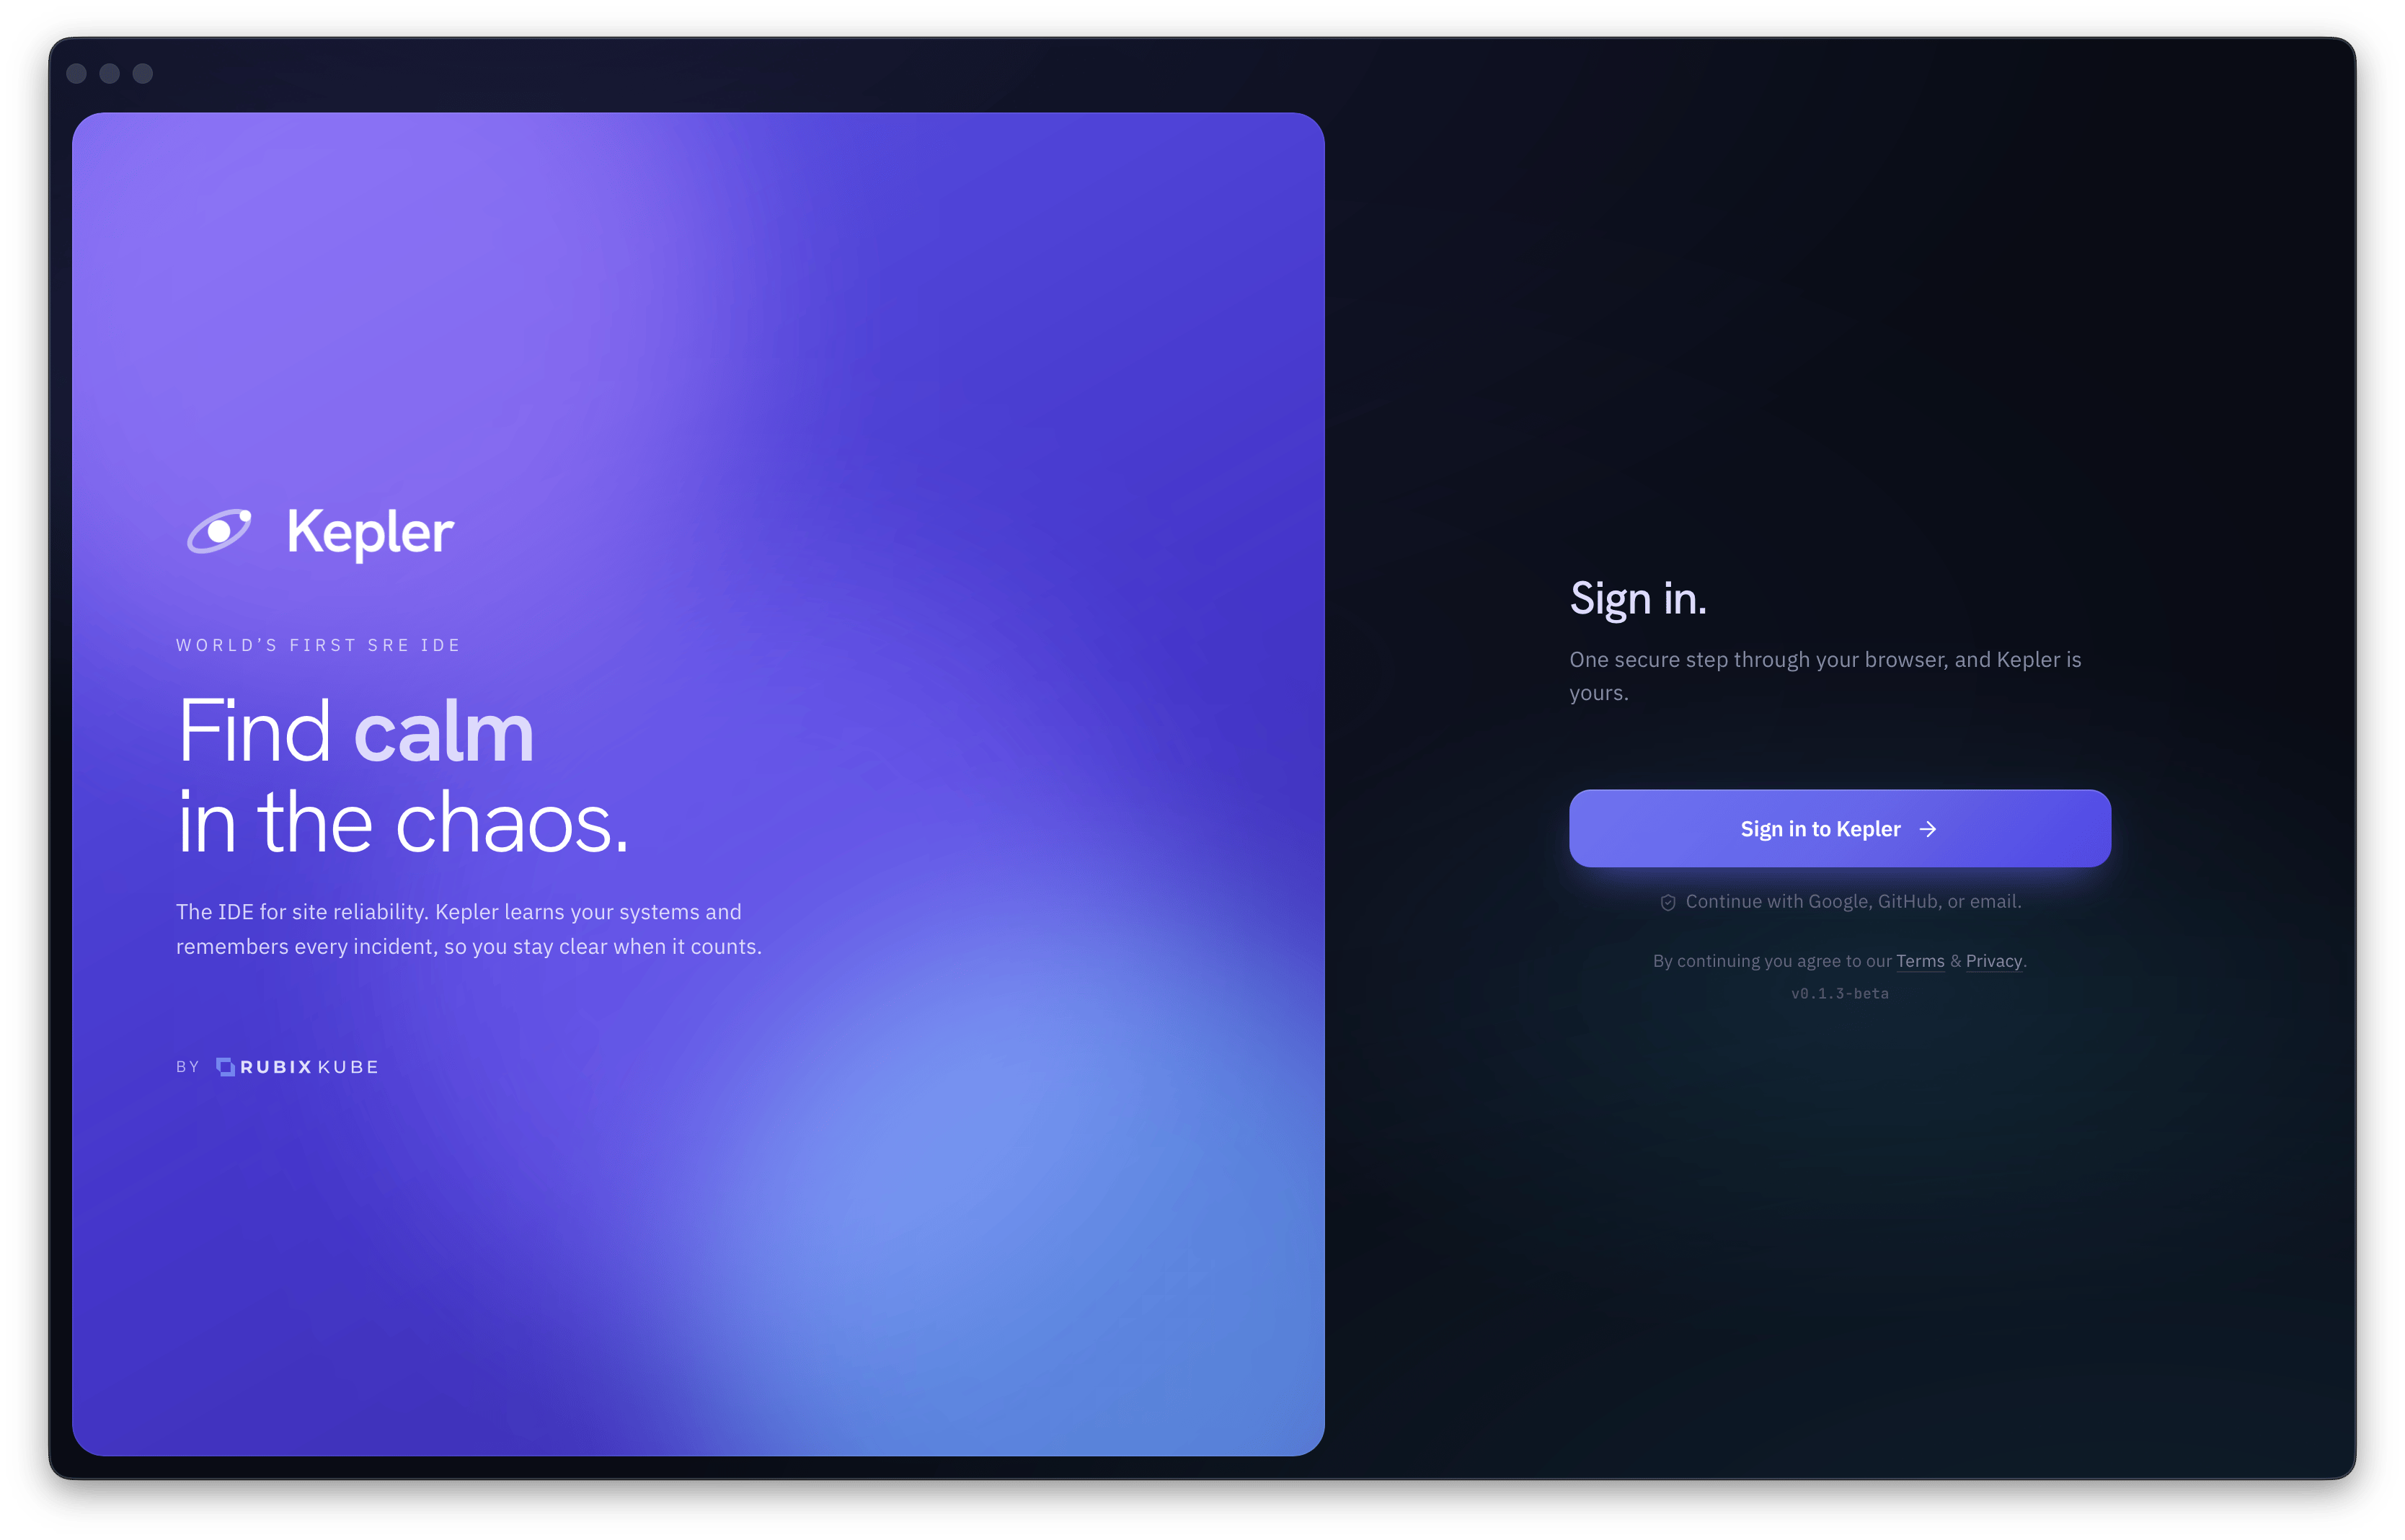
2
Answer three questions
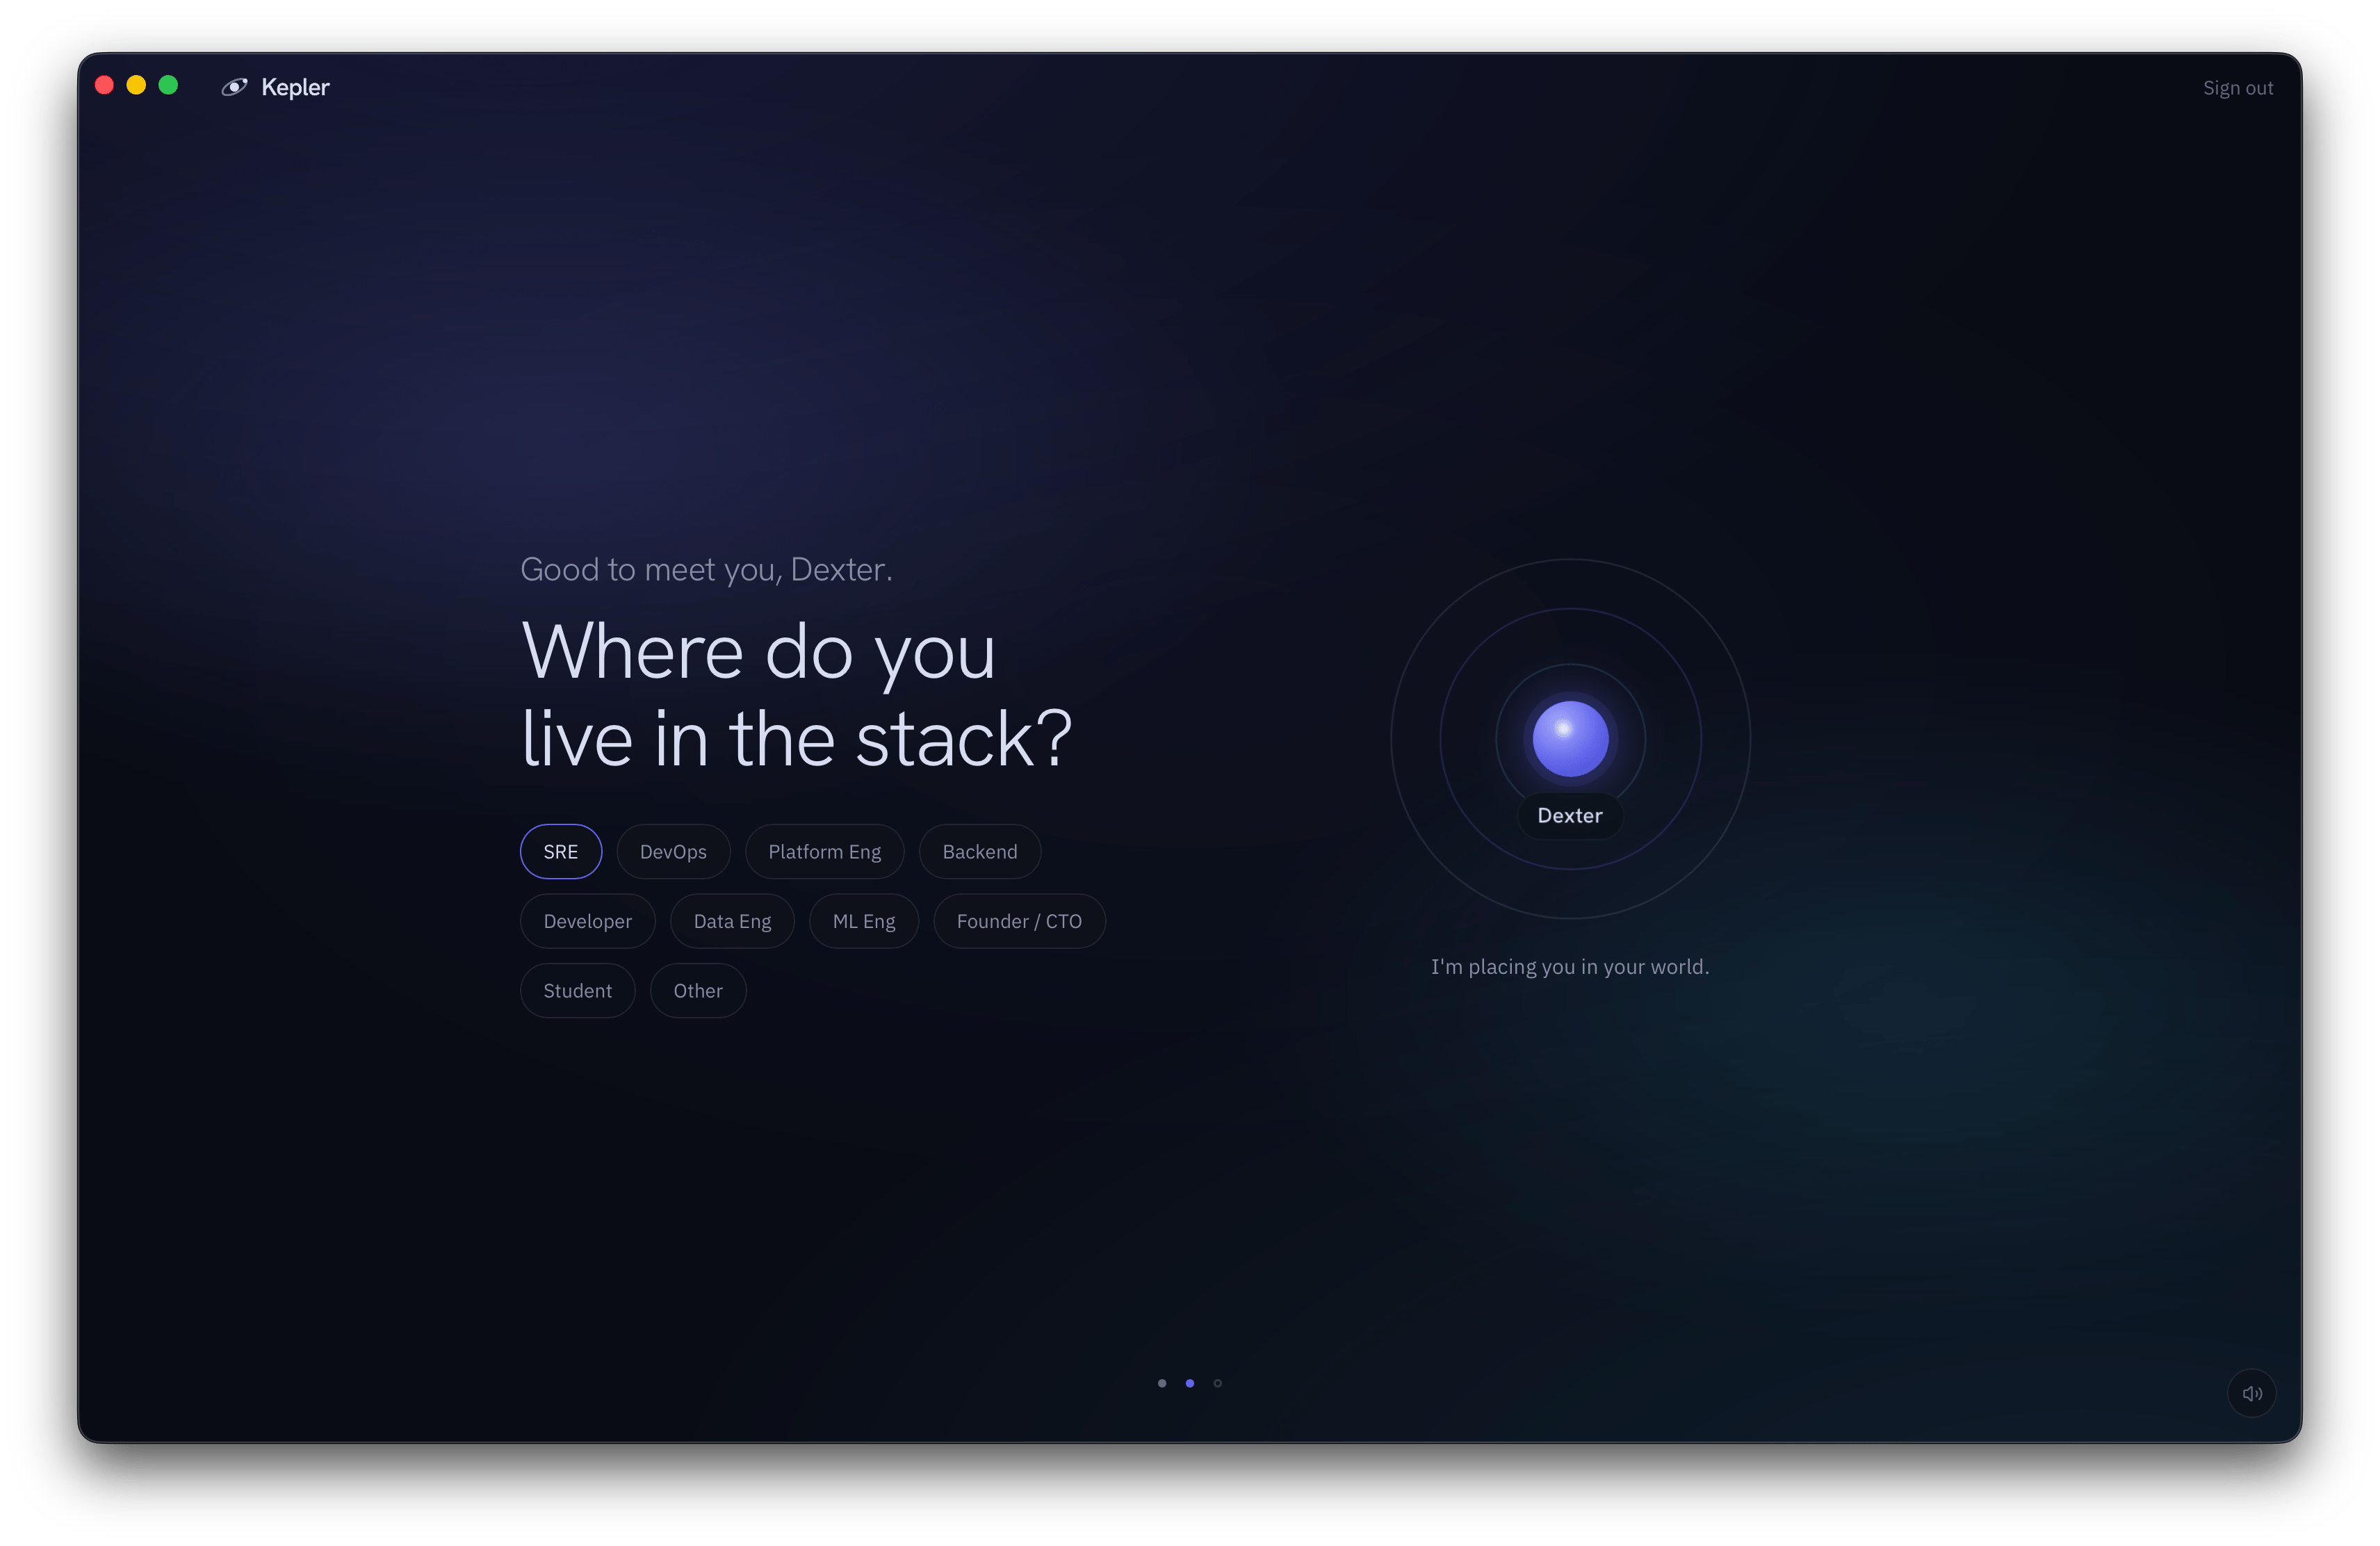
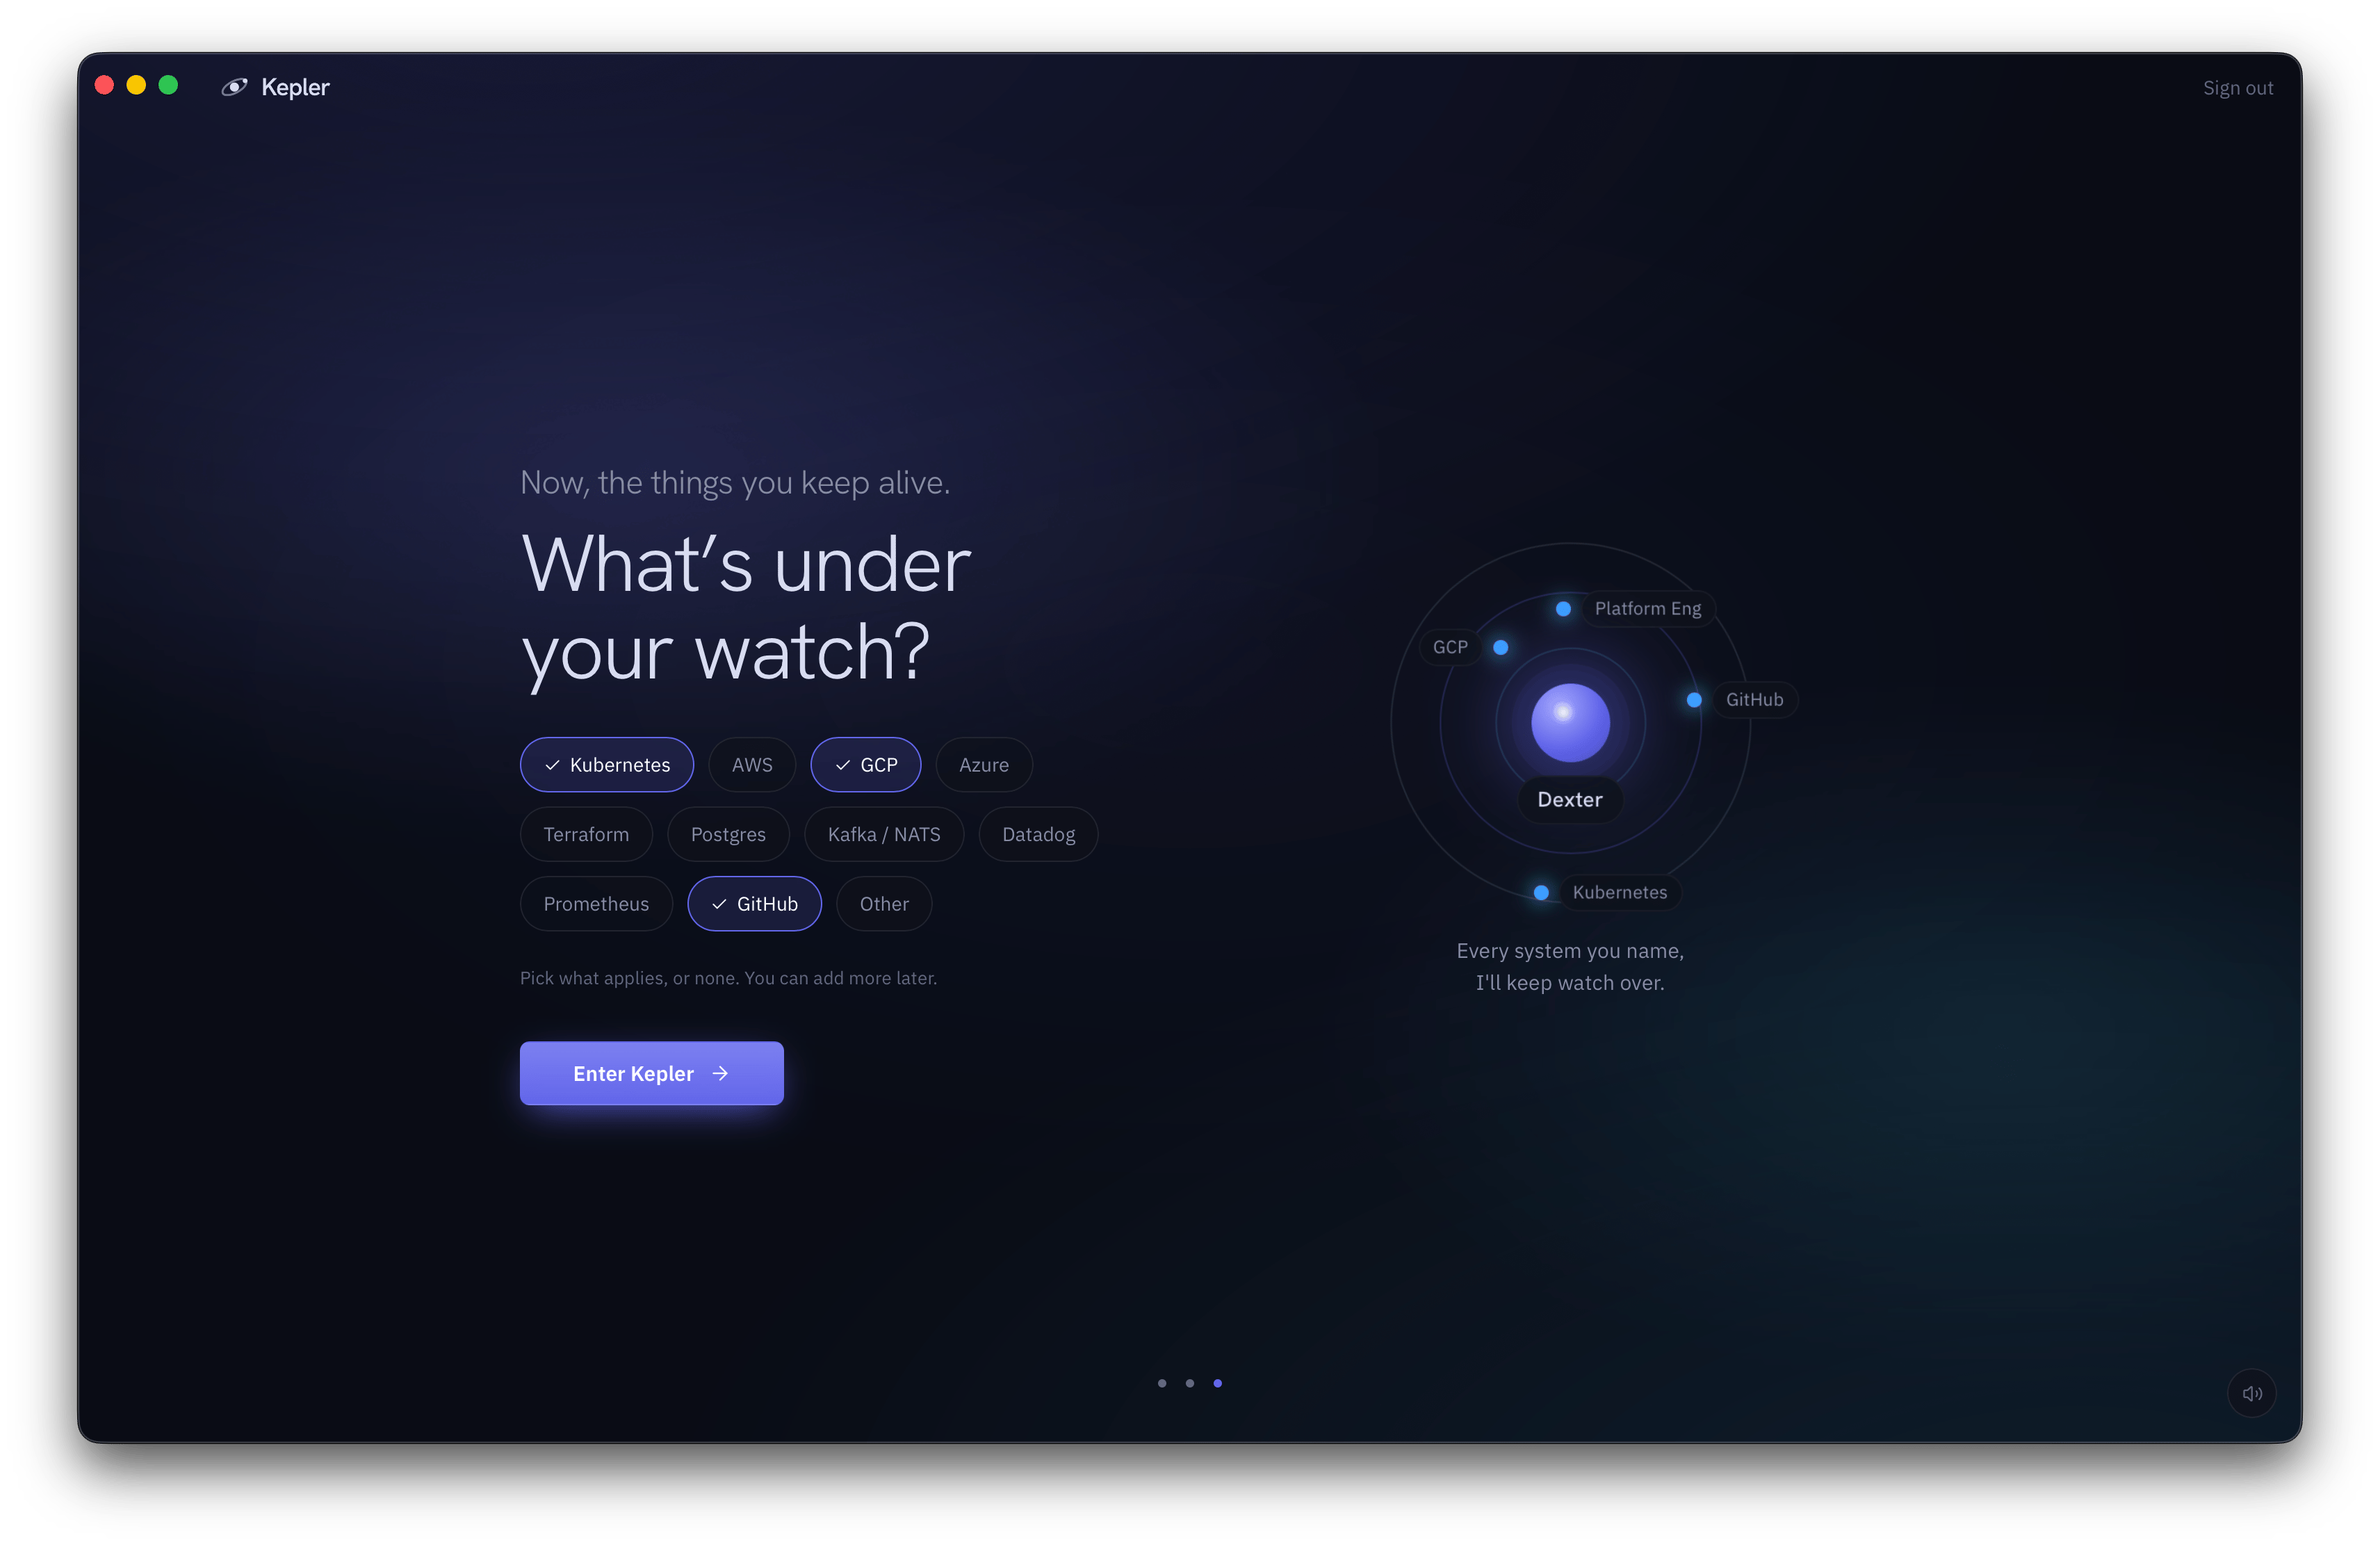
Kepler asks what to call you, where you live in the stack, and what is under your watch. Pick from the chips or type your own. The answers seed your profile so Kepler talks to you like someone who runs Kubernetes, not someone who is asking what a pod is.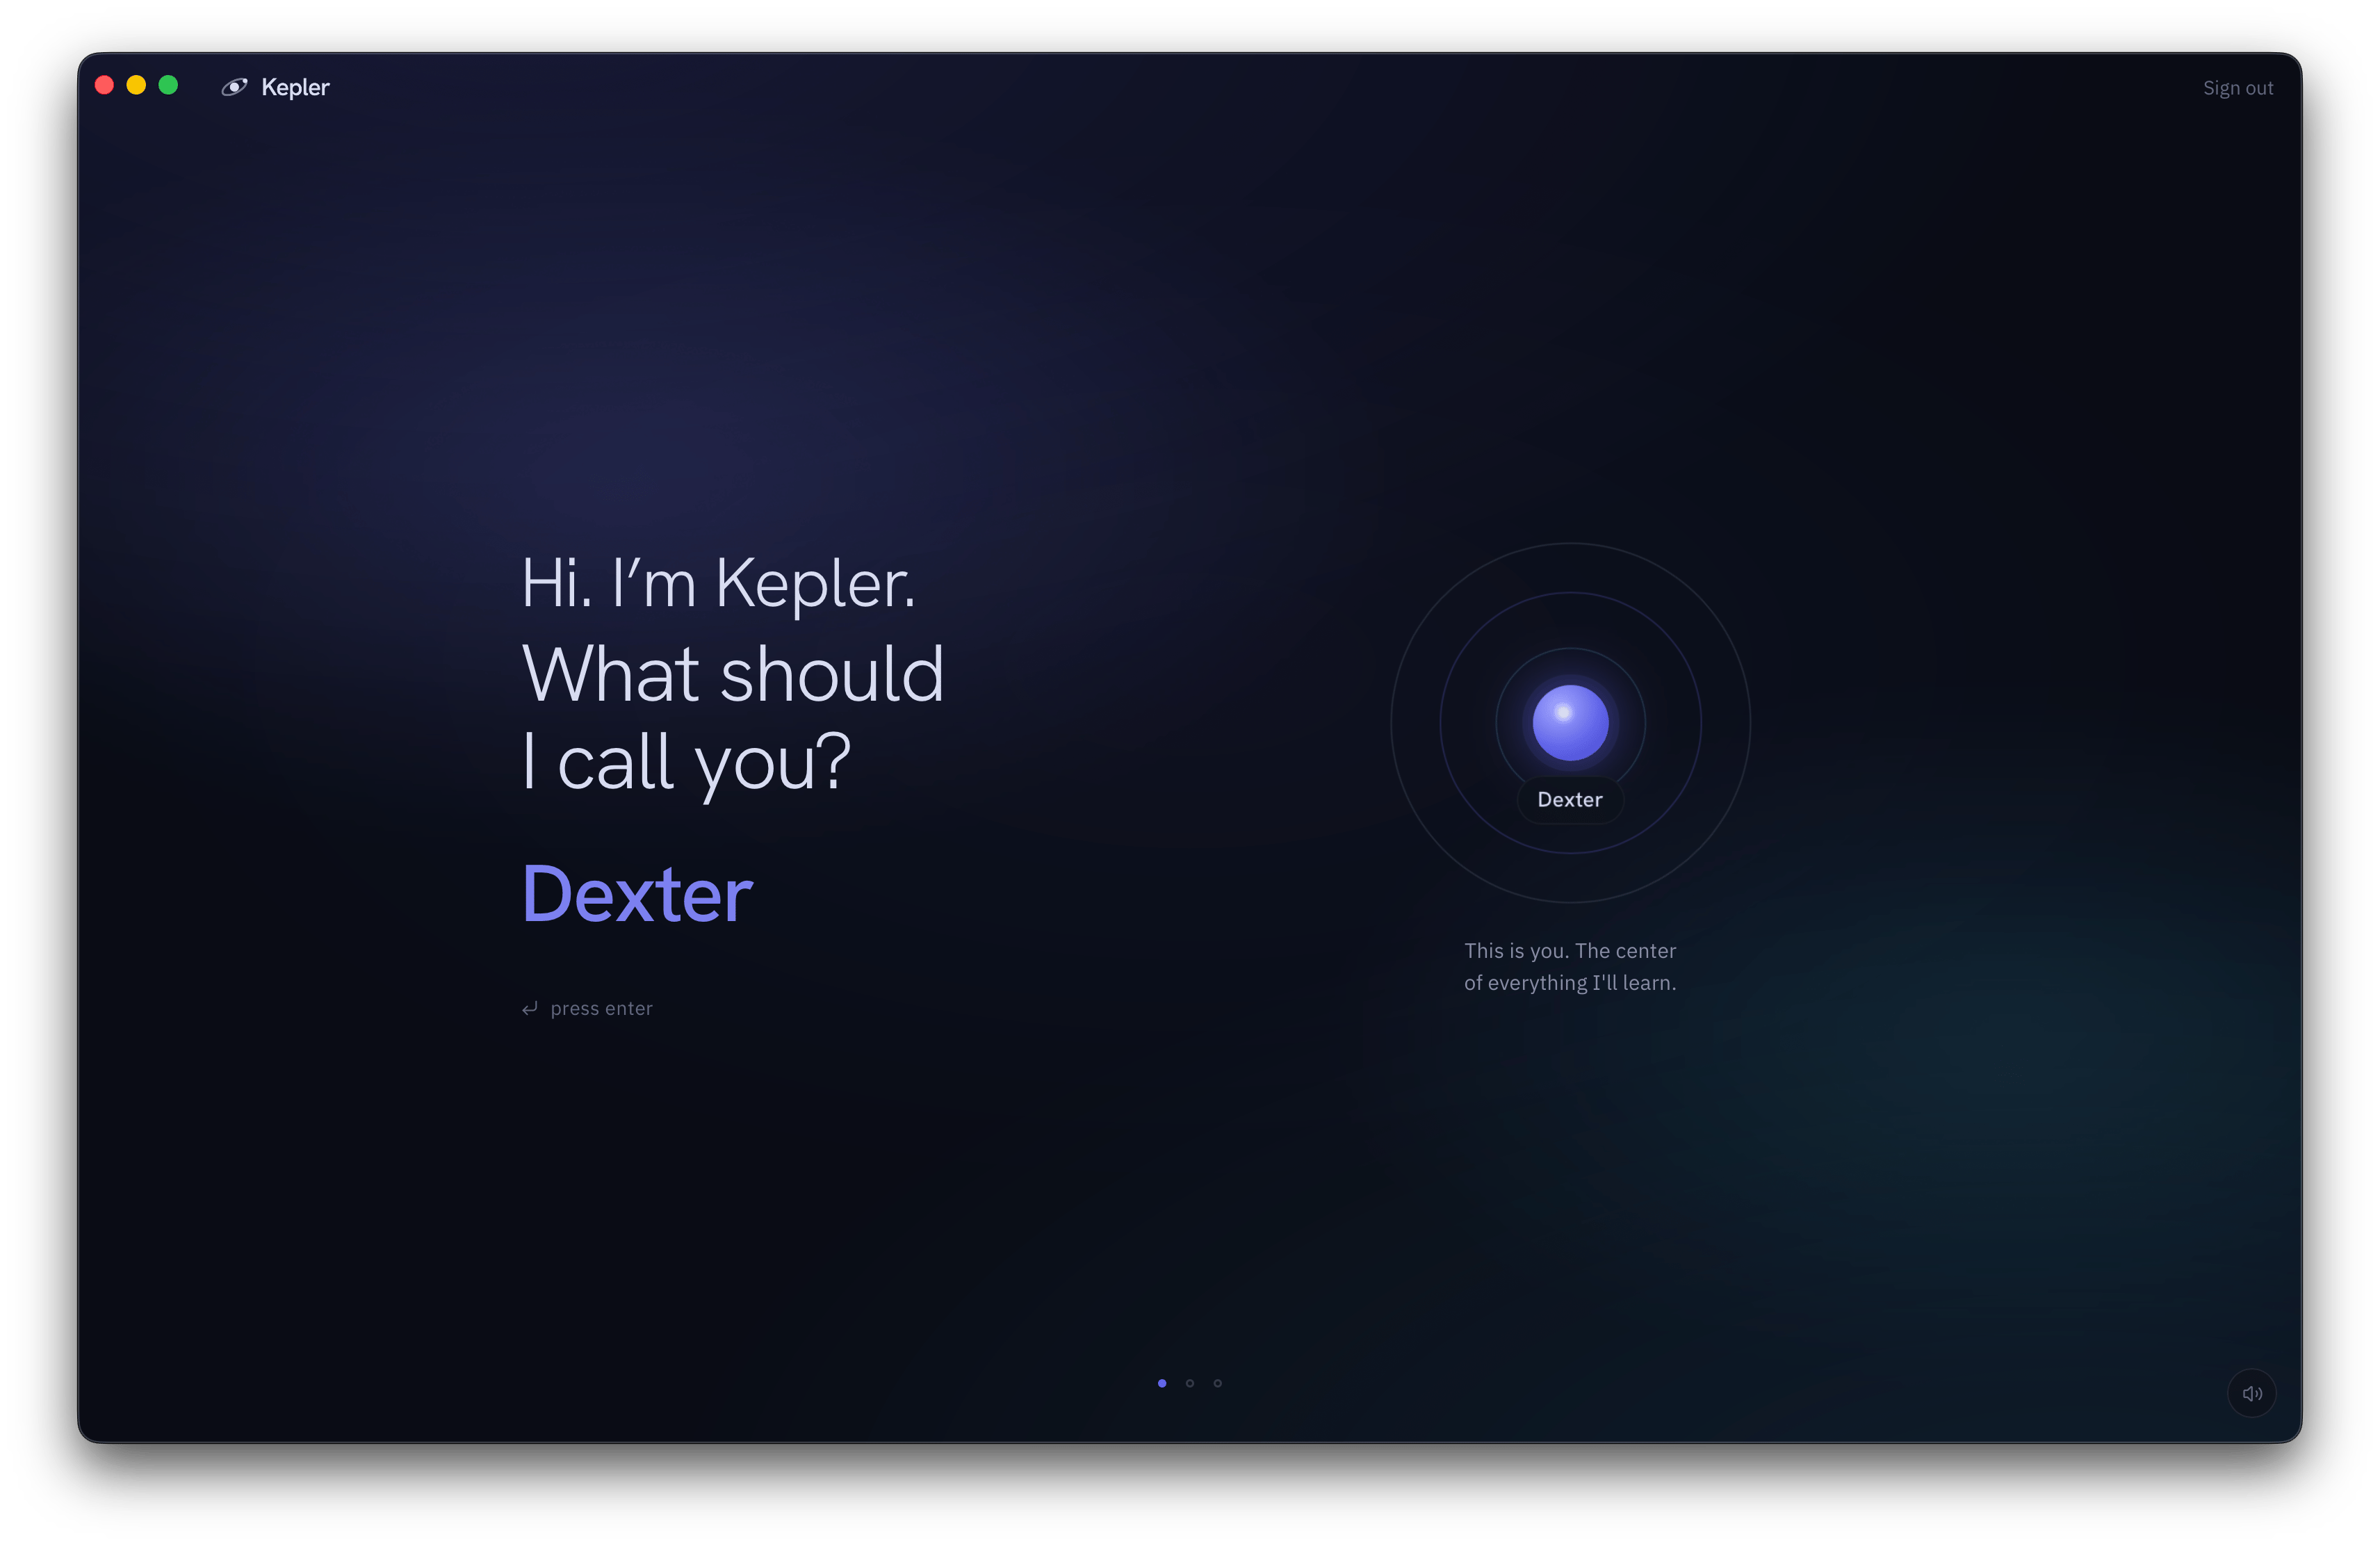
3
Connect a model
You land on the home screen. It greets you by name, lists what Kepler noticed on your machine, and says Choose an AI to start. Pick one there. Later, the model pill on the composer reads Connect a model whenever nothing usable is set up; click it, or type 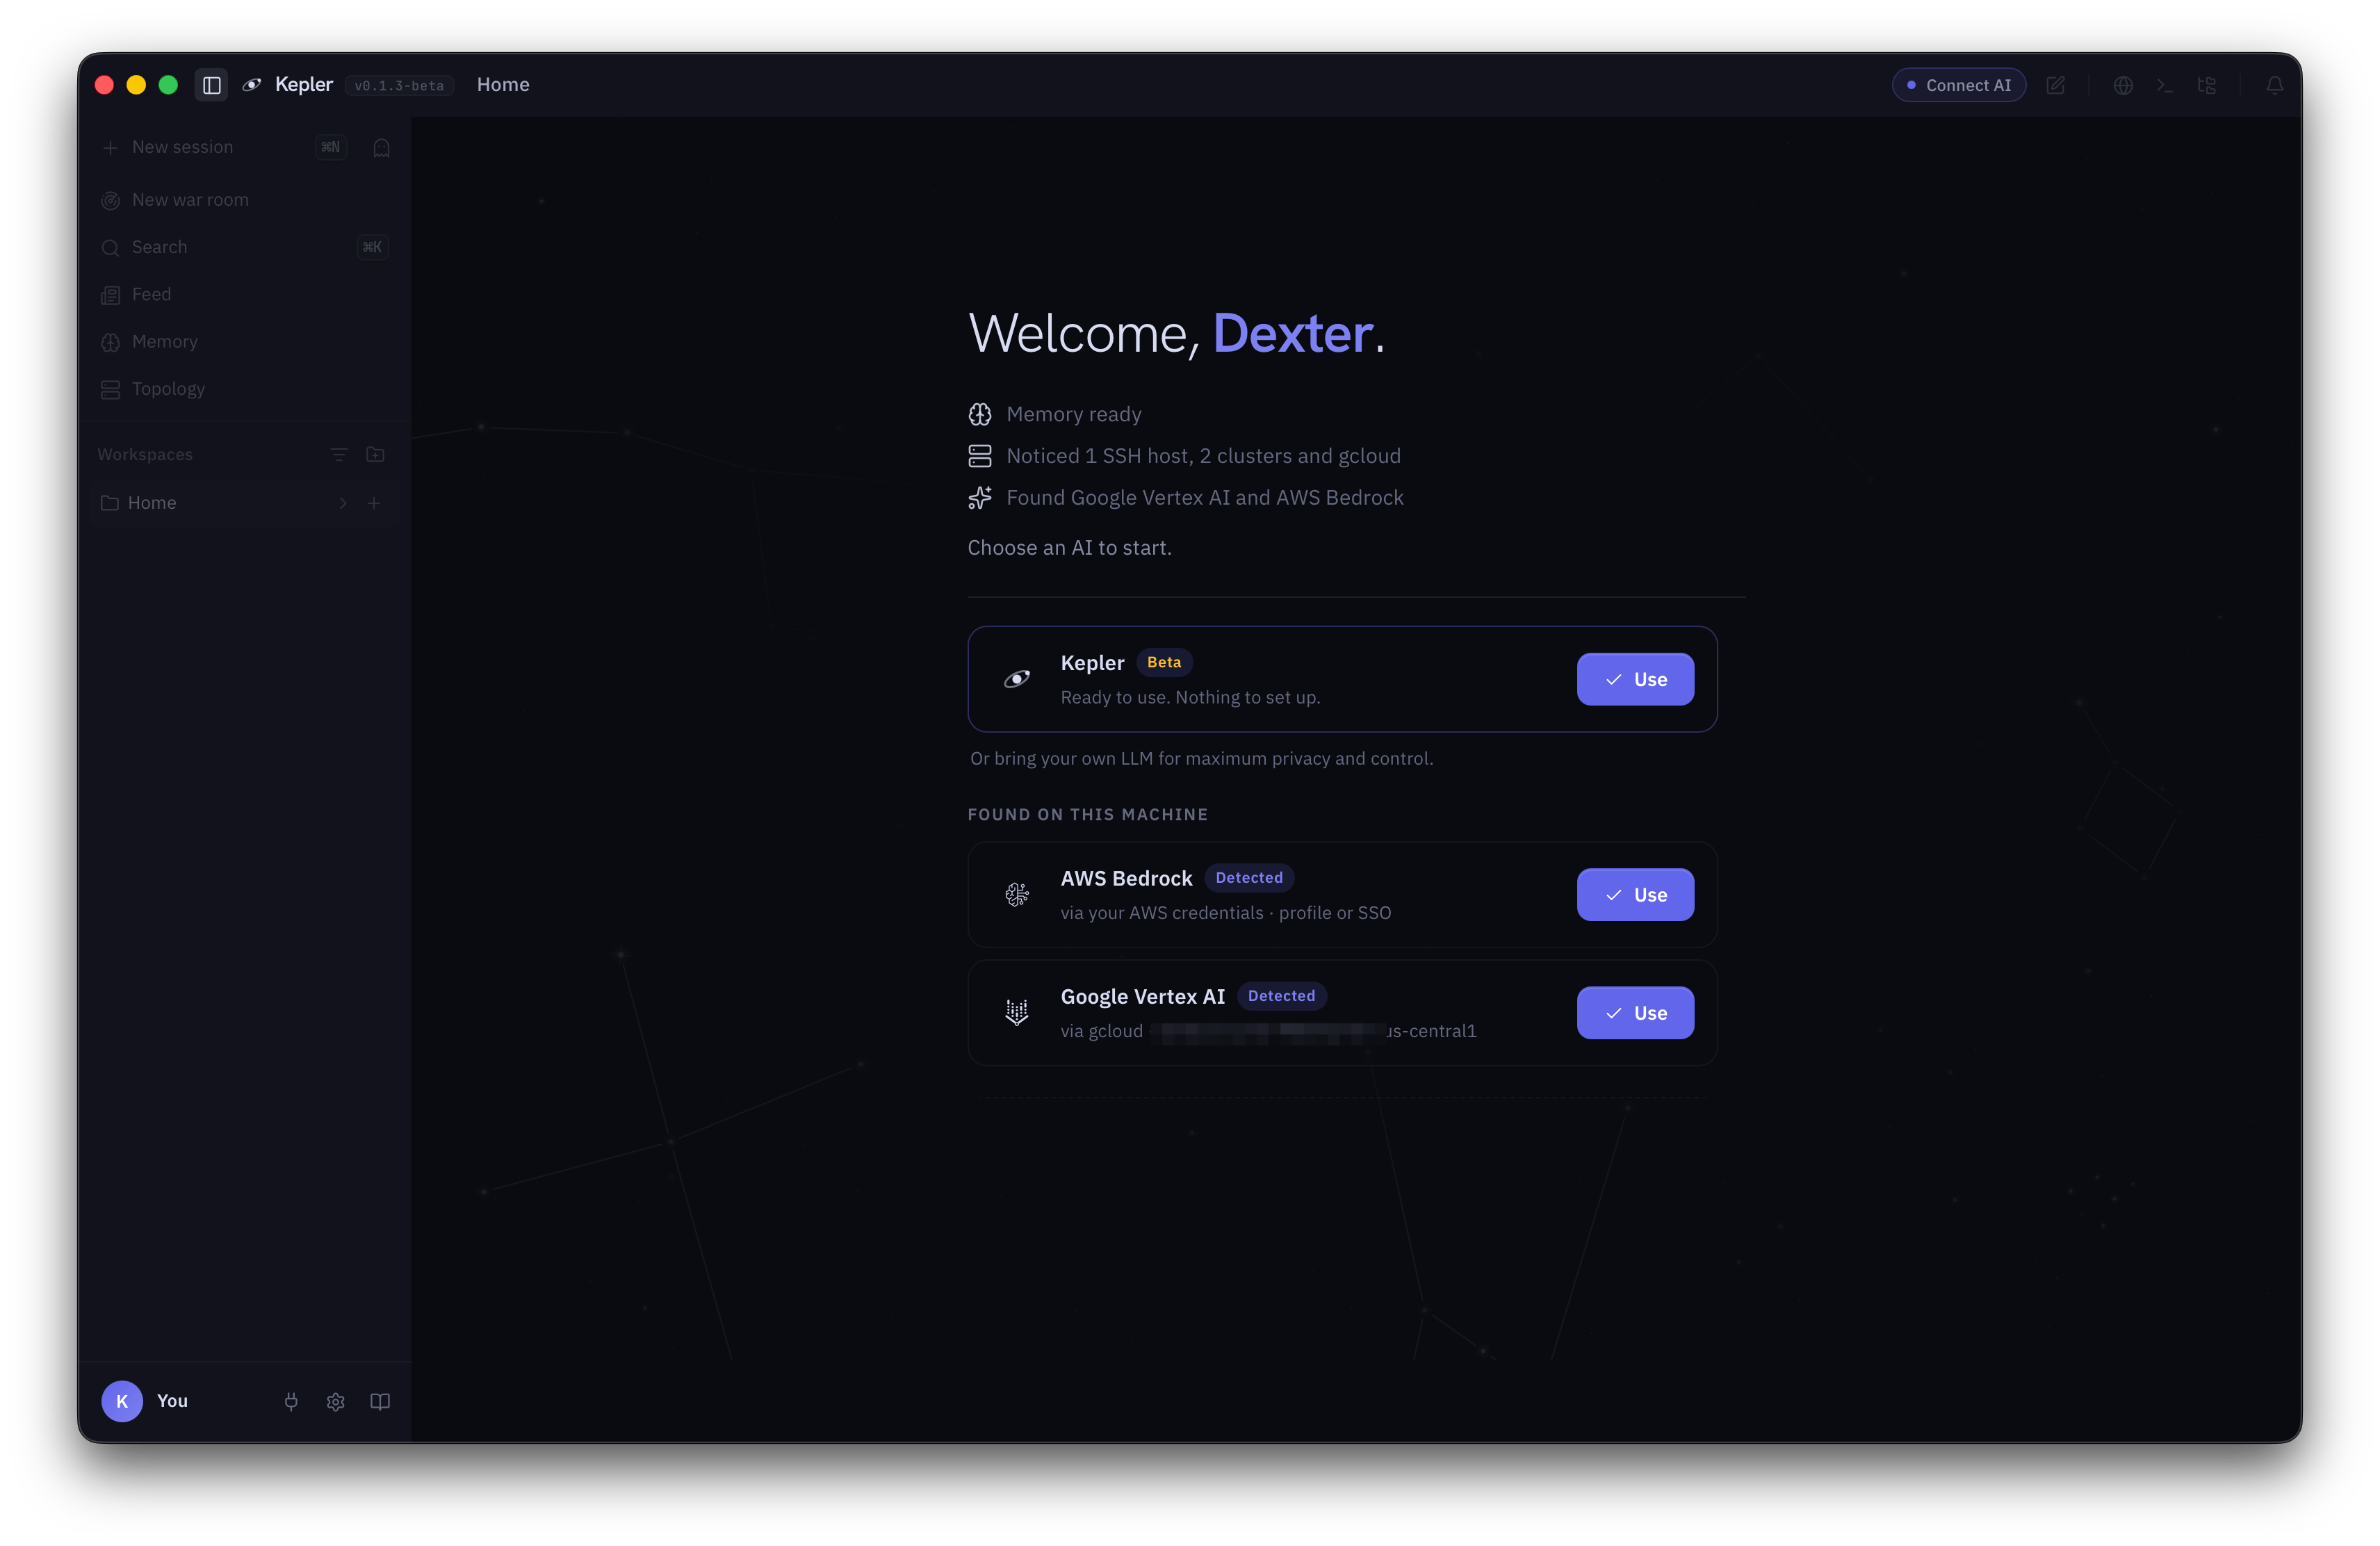
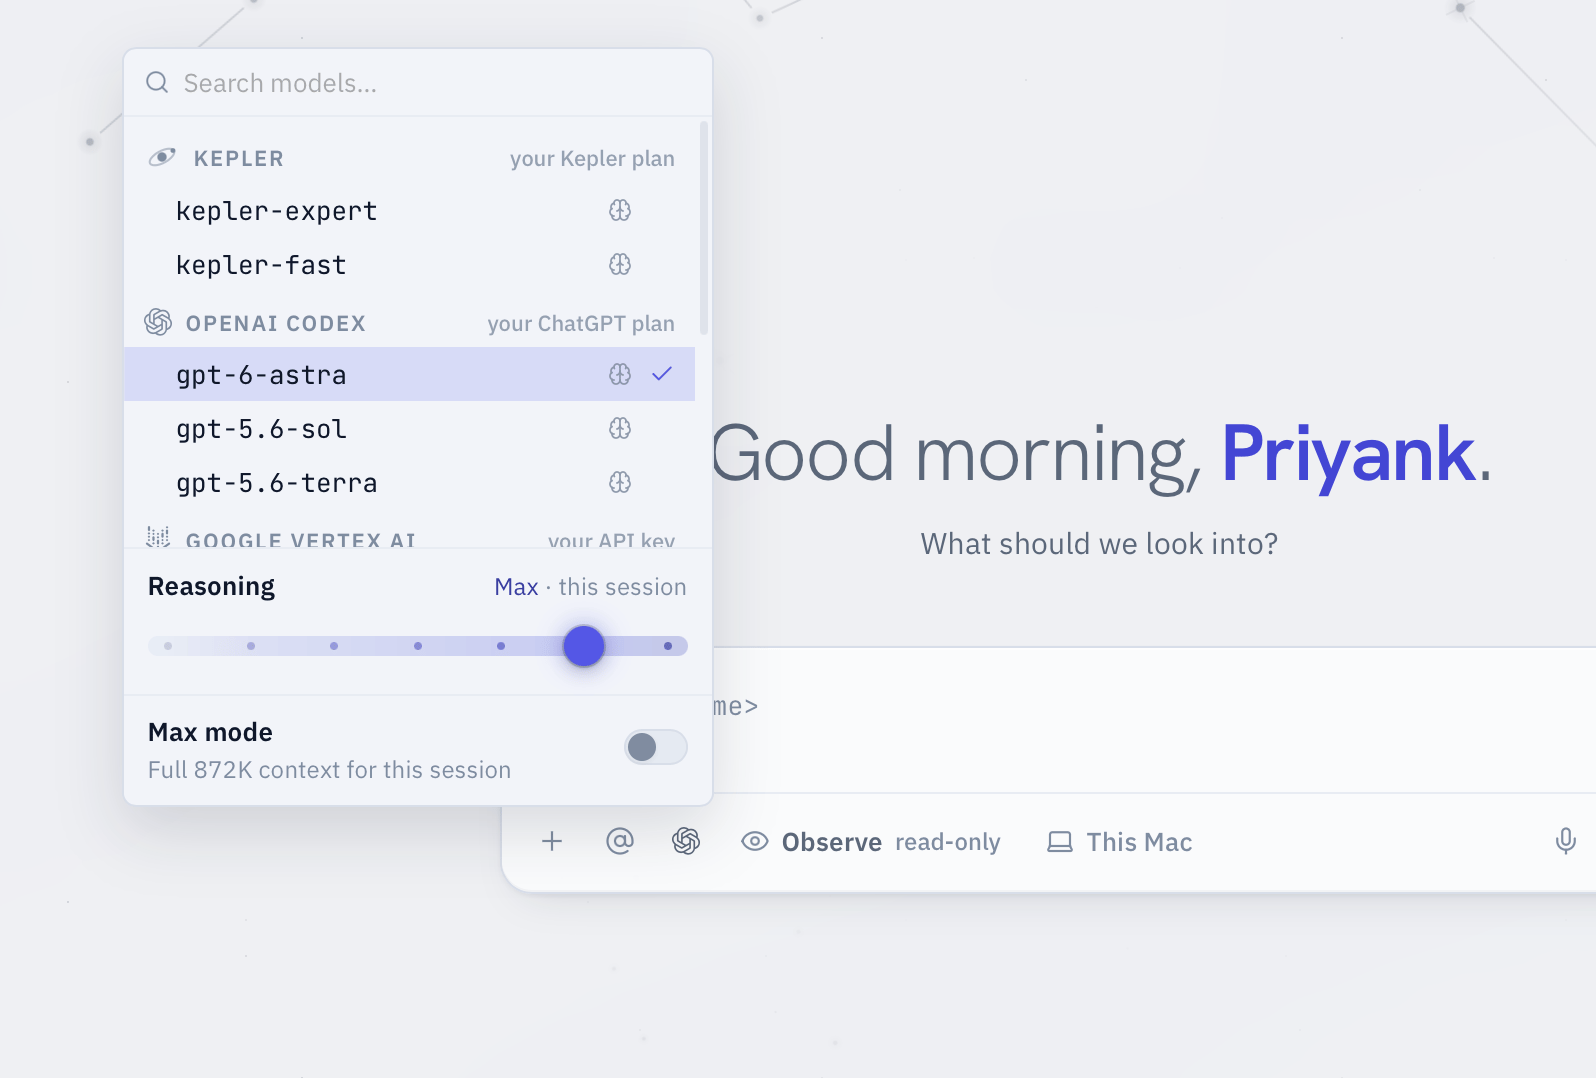
/model.- Hosted Kepler models. Available right away with your sign-in, no key needed. Pick
kepler-expertand go. - Your own key. Open Settings > Models > Providers and add a key for Anthropic, OpenAI, Google (Gemini API or Vertex AI), xAI, AWS Bedrock, or an OpenAI-compatible endpoint. Ollama shows up under Found on this machine if it is running.
Keys you add stay on this machine, in your operating system’s keychain. Kepler never uploads them. Whichever model you pick, Kepler keeps using it until you change it. It does not fall back to a different model when one fails. It retries the same one or tells you.
4
Open a workspace
Press
Cmd+O and pick a folder, or type /workspace add <path> in the composer. Your infra repo or a folder with your manifests is a good first workspace.Kepler can only read and edit files inside folders you have granted. It starts with your home folder as a default workspace. When a command reaches outside the granted folders, Kepler stops and asks, and you can allow it once, for this session, or add the folder to the workspace.You do not need to hand over kubeconfigs or cloud credentials. Kepler uses whatever kubectl, aws, gcloud, and ssh already have on your machine.5
Ask a read-only question
New conversations start in Observe, the read-only posture. The chip on the composer shows it. Kepler will run reads (What you will see, in order: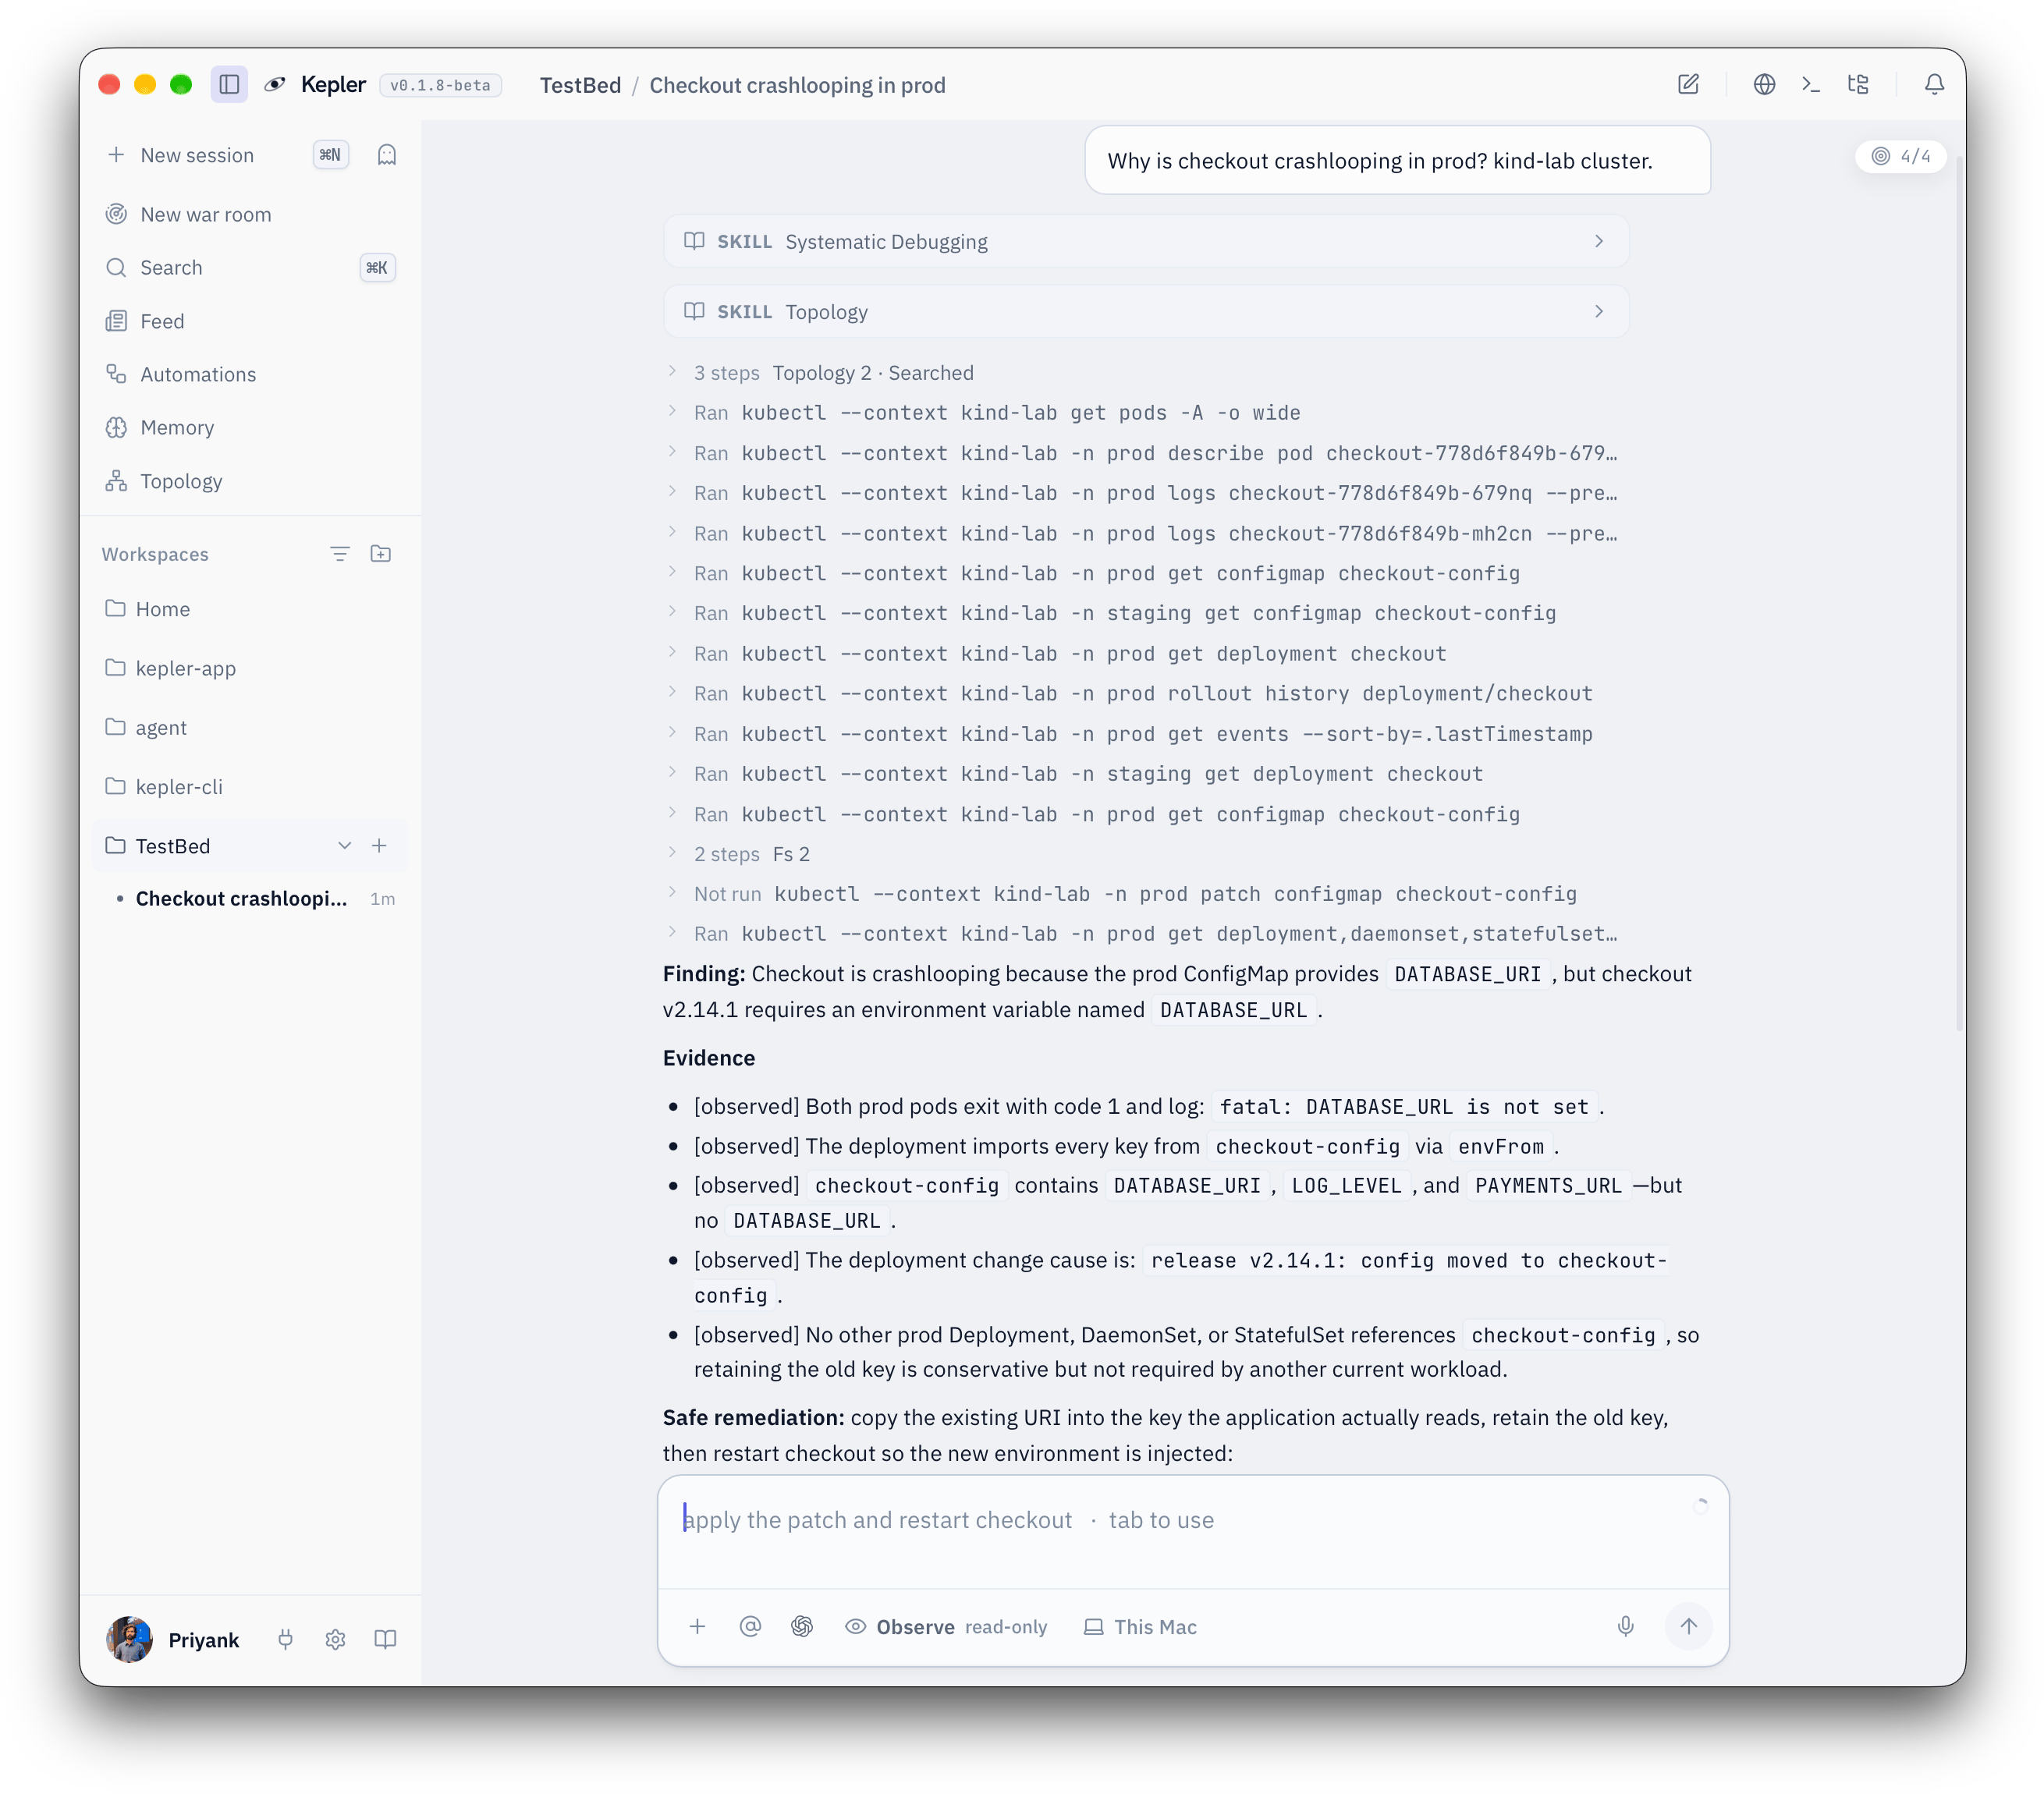
kubectl get, kubectl logs, describe, log greps) without asking, and will not run anything that writes.Type something you would ask a colleague:- The thinking orbit while Kepler works out what to check.
- Tool cards, one per command. Each shows the exact command and its output. Expand any of them to read the raw text yourself.
- A diagnosis with evidence. Kepler quotes the lines it is relying on (an OOMKilled event, a missing secret, a bad image tag) so you can check its reasoning against what actually ran.
- A suggested fix. In Observe this is a proposal, not an action. Nothing changes until you say so.
/plan makes Kepler investigate and then write a reviewable plan with steps, blast radius, and rollback, and stop there.6
Make one small change in Assist
Press Kepler runs the reads it needs, then stops. An approval dock slides in above the composer showing the exact 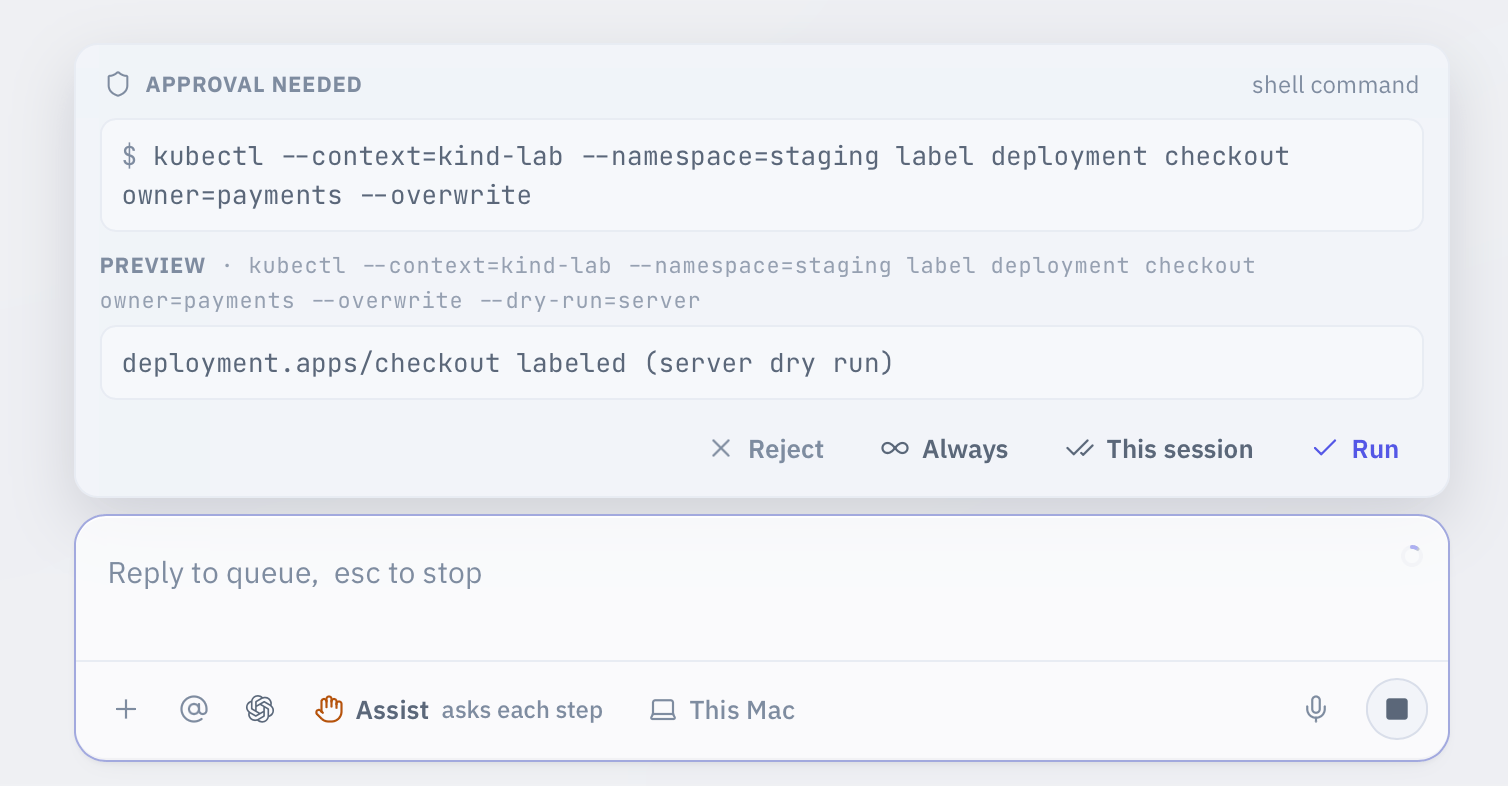
Shift+Tab to move the posture chip from Observe to Assist, or type /mode assist. Assist lets Kepler act, but it asks before every change.Ask for something small and reversible:kubectl command it wants to run, and a preview where one is available. You have four choices:- Run: run this one command and continue.
Cmd+Enterdoes the same. - This session: run it, and stop asking about
kubectl labelfor the rest of this conversation.Cmd+Shift+Enterdoes the same. - Always: run it, and allow
kubectl labelfrom now on in every conversation. This one saves a permanent rule, so use it only for verbs you are happy for Kepler to run unattended. - Reject: stop. Type a note first if you want to steer what Kepler tries next.
rm -rf are never offered in any posture.Essential shortcuts and commands
Where to go next
Postures
Observe, Assist, and Yolo in detail, and when to use each.
The workspace
Panels, center stage, and how you and Kepler share the terminal and browser.
Permissions
Per-tool switches, command rules, and the always-blocked list.
Commands
Every slash command, from
/investigate to /handoff.