> ## Documentation Index
> Fetch the complete documentation index at: https://docs.rubixkube.ai/llms.txt
> Use this file to discover all available pages before exploring further.
# Team and Workspace Management
> Invite team members, manage roles, and collaborate on reliability inside a RubixKube workspace.
# Managing Workspace & Teams
The Workspace page lets you invite team members, assign roles, and create interactive workspace components.
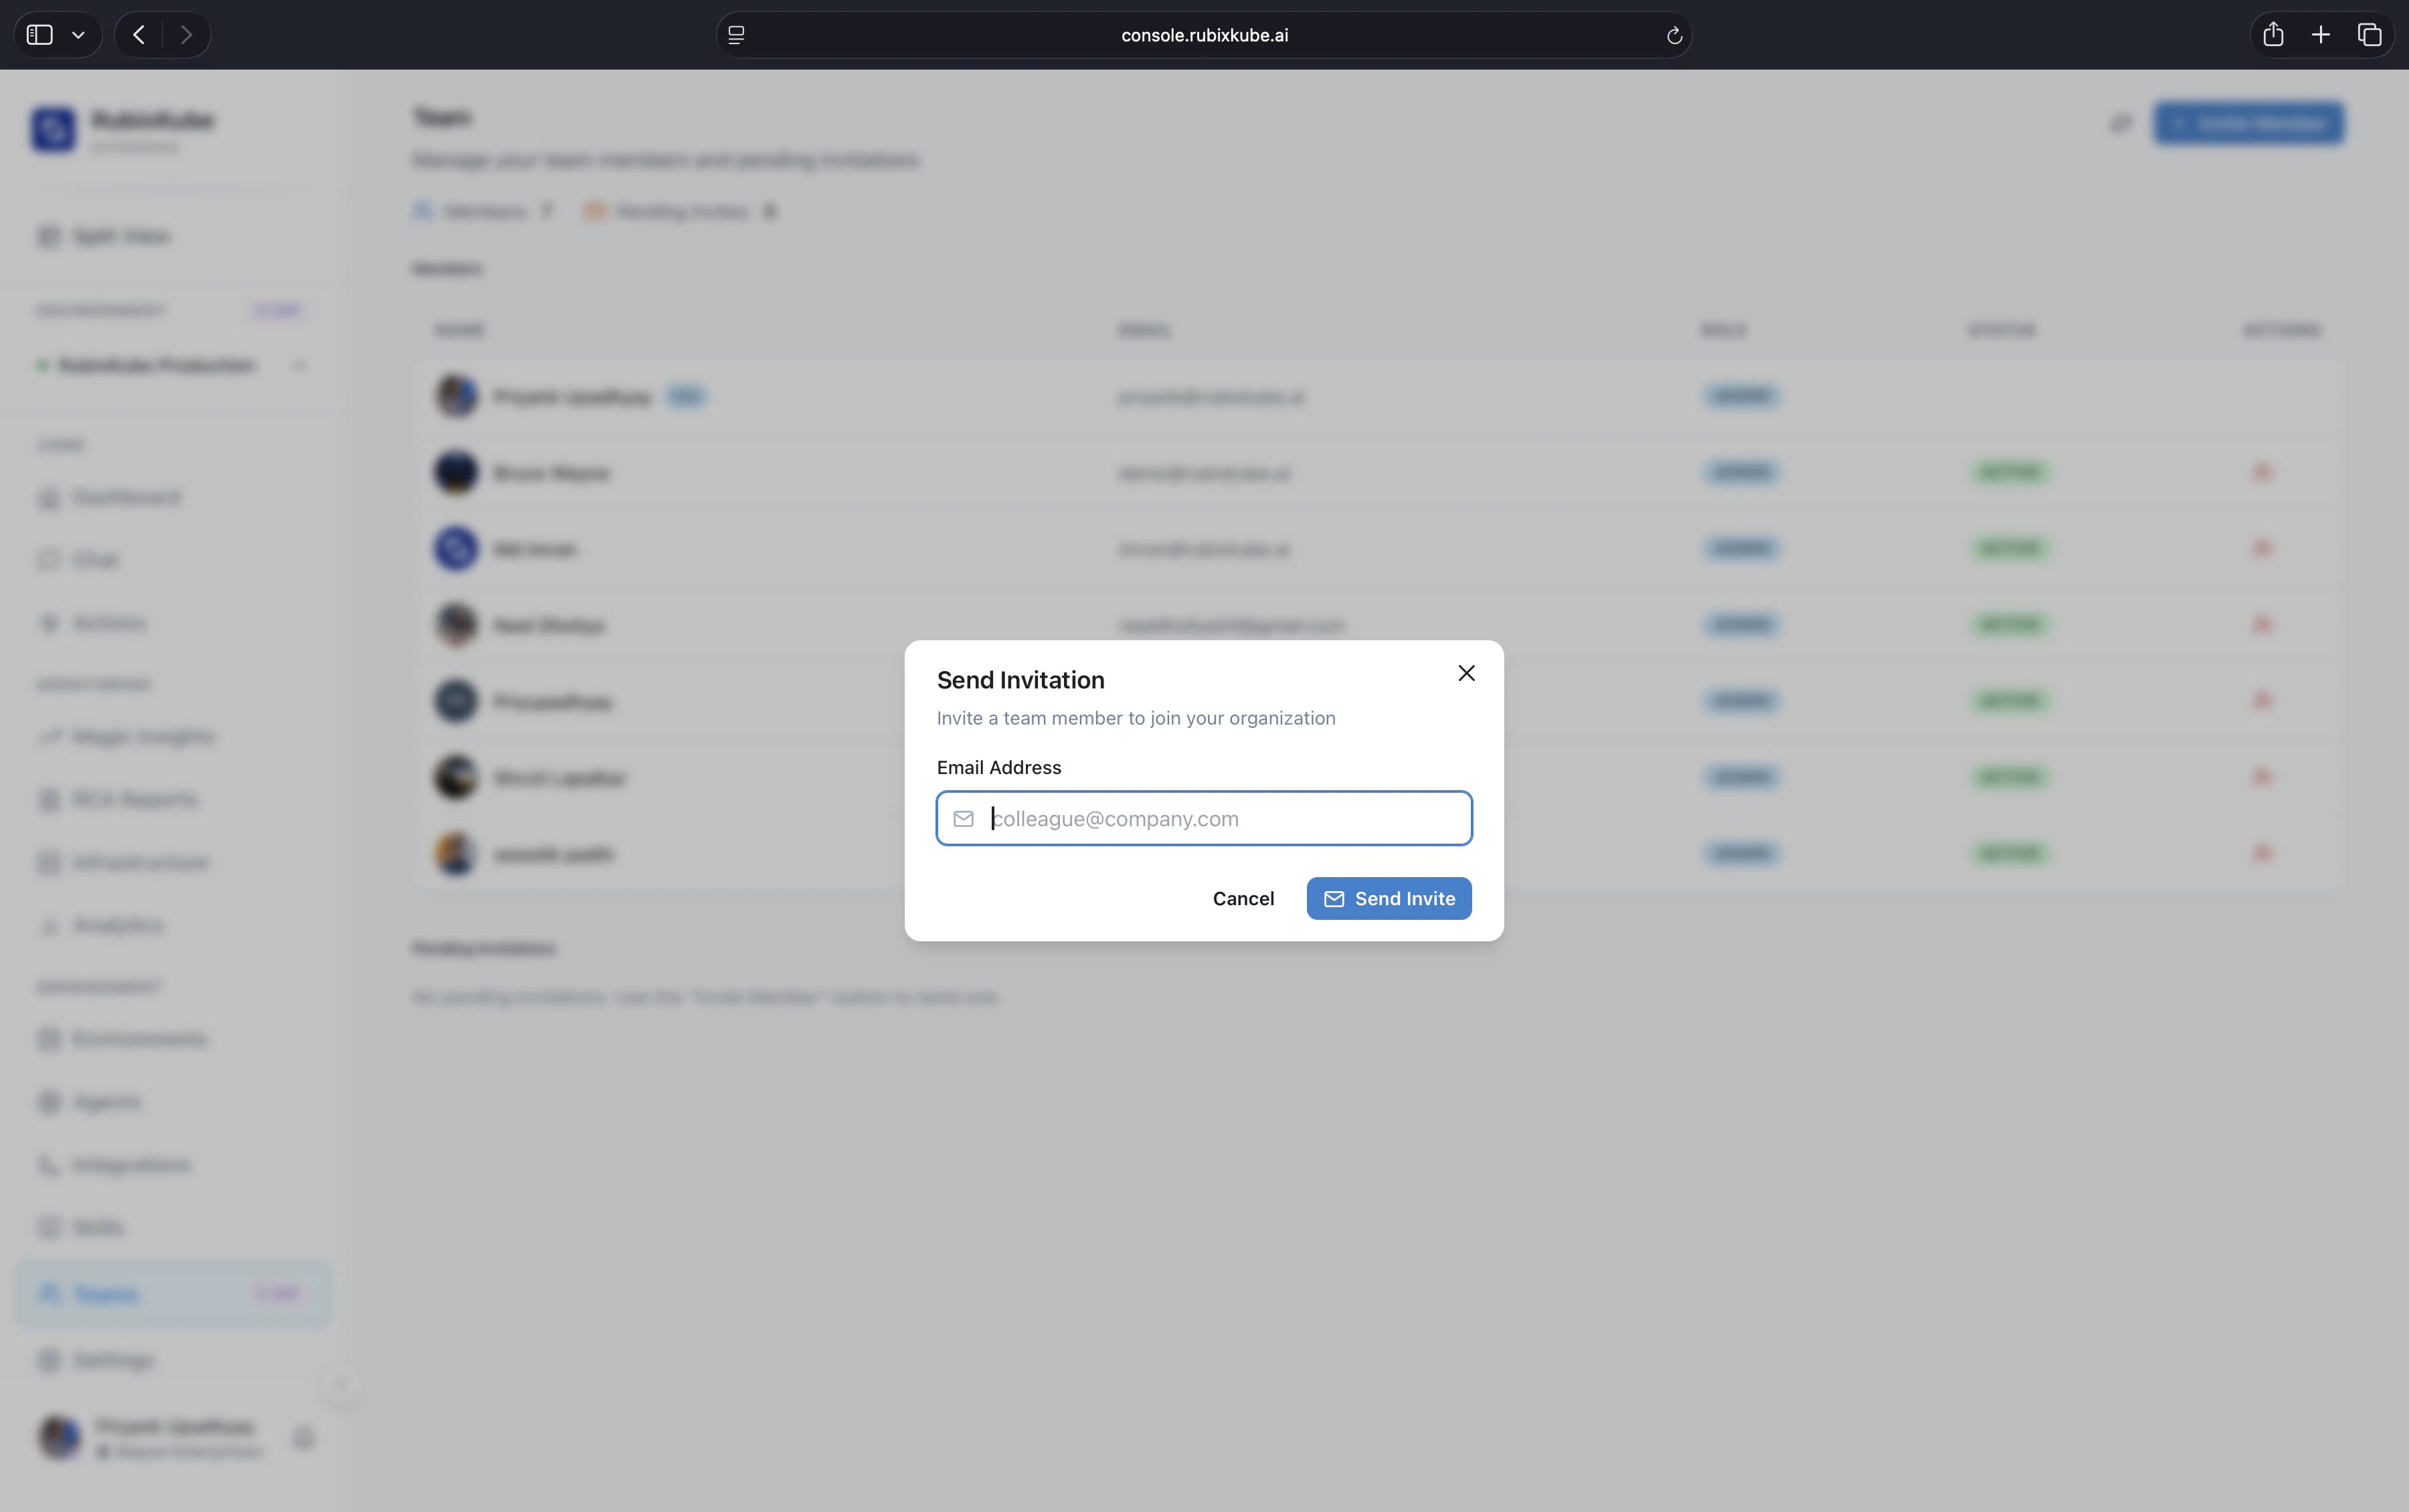 The Team page. Manage current members, track pending invites, and send a new invitation by email, all in one place.
***
## User Roles
**Full access:** - Add/remove users
* Manage clusters
* Change settings
* View all data
**Standard access:** - View all data
* Use Chat
* View RCA reports
* Cannot change settings
**Read-only:** - View dashboards
* Read RCA reports
* Cannot modify anything
***
## Inviting Team Members
Enter email address
Choose Admin, Member, or Viewer
They receive email with signup link
User appears in your workspace
***
## Workspace Components (Dynamic Workspace)
The Team page. Manage current members, track pending invites, and send a new invitation by email, all in one place.
***
## User Roles
**Full access:** - Add/remove users
* Manage clusters
* Change settings
* View all data
**Standard access:** - View all data
* Use Chat
* View RCA reports
* Cannot change settings
**Read-only:** - View dashboards
* Read RCA reports
* Cannot modify anything
***
## Inviting Team Members
Enter email address
Choose Admin, Member, or Viewer
They receive email with signup link
User appears in your workspace
***
## Workspace Components (Dynamic Workspace)
 No components yet - use Start Creating to begin
 Start Creating launches component creation flow
***
## Related Guides
* [Dashboard](/using/dashboard)
* [Insights](/using/insights)
* [Infrastructure](/using/infrastructure)
* [Clusters](/using/clusters)
* [Agents](/using/agents)
* [Settings](/using/settings)
* [Integrations](/using/integrations)
***
## Managing Users
**View all users:** - See name, email, role
* Last active time
* Status (active/pending)
**Change roles:** - Click user → Edit role
* Promote/demote as needed
**Remove users:** - Click user → Remove
* Access revoked immediately
***
## What You Learned
3 user roles\
How to invite team\
Managing access
***
## Need Help?
Email: [connect@rubixkube.ai](mailto:connect@rubixkube.ai)
Start Creating launches component creation flow
***
## Related Guides
* [Dashboard](/using/dashboard)
* [Insights](/using/insights)
* [Infrastructure](/using/infrastructure)
* [Clusters](/using/clusters)
* [Agents](/using/agents)
* [Settings](/using/settings)
* [Integrations](/using/integrations)
***
## Managing Users
**View all users:** - See name, email, role
* Last active time
* Status (active/pending)
**Change roles:** - Click user → Edit role
* Promote/demote as needed
**Remove users:** - Click user → Remove
* Access revoked immediately
***
## What You Learned
3 user roles\
How to invite team\
Managing access
***
## Need Help?
Email: [connect@rubixkube.ai](mailto:connect@rubixkube.ai)
Please include your Tenant ID (Settings → Organization), timestamp, and screenshots.
Step-by-step fixes for common issues across Dashboard, Insights, Agents, and more.
Answers to common questions about setup, RCA, agents, and docs.
Browse all guides to learn workflows and best practices.